Update the Kernel on a Digital Ocean droplet


Russ McKendrick · 2 min read ·
A while I posted about a script I wrote to quickly bootstrap a Digital Ocean droplet.
One one of the things I noticed while trying to install a few packages is that even though my script had run a yum update I was booting into the original Kernel and this was causing all sorts of hilarity when trying to build a Kernel module, because of this I added a few lines to my script to tell you if the kernel has been updated, and if so what the new version is;
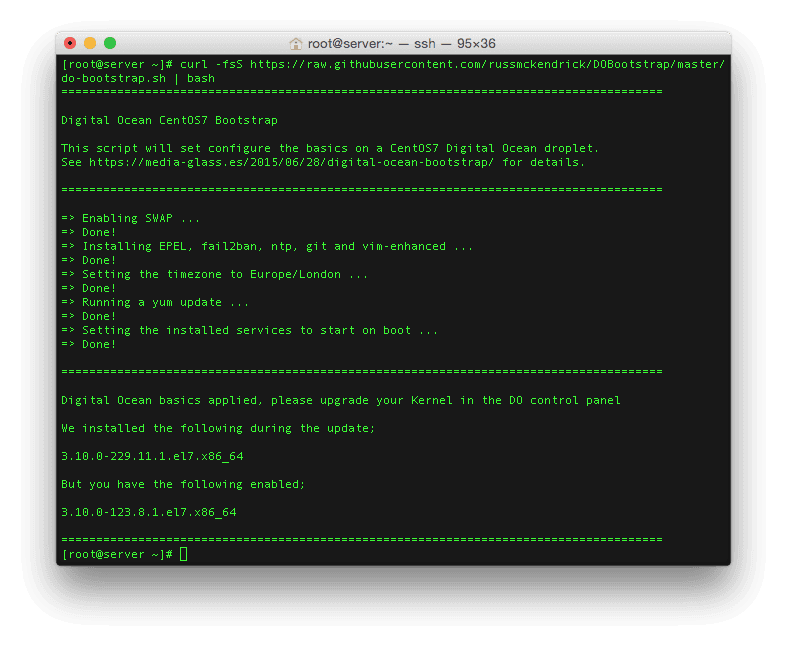
Once the script has been run you should power down your droplet from within the control panel by selecting your droplet, then enter the Power menu, hit the “Power off” button to power down your droplet. While the droplet is powered off goto “Settings” and the switch to the “Kernel” tab, from there select the kernel you would like your droplet to use (in the example above its 3.10.0–229.11.1.el7.x86_64) and click the “Change” button;
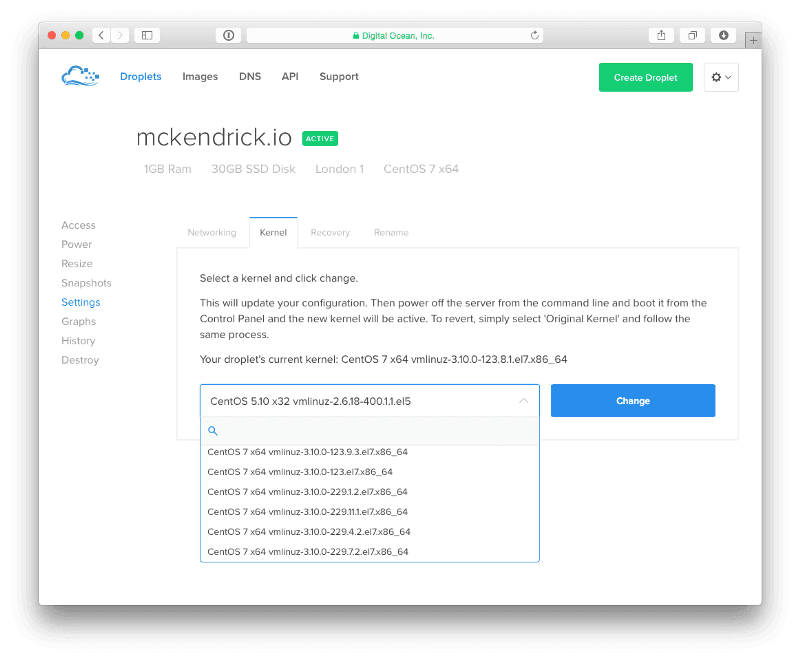
After you have changed the kernel return to the “Power” section and power on your droplet.
Once the droplet has booted you will be running the new kernel.
This process differs depending on the Operating System have chosen, but it is applicable to all of the CentOS droplets and Ubuntu versions below 15.04, not that I am running any Ubuntu servers.
Related terms: Amazon Web ServicesAzure FunctionsAzure Logic AppsAzure Soft DeleteAzure Virtual DesktopAzure Virtual Network
More from the archive


Comments