Update to CentOS 7 Docker install one-liner


Russ McKendrick · 2 min read ·
UPDATE 26/07/2015 In typical fashion, a few weeks after posting this Docker themselves released a much better version than mine, you can install it using the following commands;
curl -sSL https://get.docker.com/ | shsystemctl enable docker && systemctl start dockerdocker run hello-worldWhat follows is the original, now mostly redundant post.
It’s been a while since I touched the code for the one-liner Docker installer I wrote a while back.
Times have moved on, the official CentOS version is more up-to-date than it was once was (it’s currently at 1.6) and Docker now provide [their own RPM](https://docs.docker.com/engine/install/centos/ “Offical Docker Docs - “Linux"") for installing the latest version (currently 1.7) on CentOS 7. Also, docker-compose has replaced [fig](/2014/08/31/docker-fig-nginx-reverse-proxies-and-centos-7/“Docker, Fig, NGINX Reverse Proxies and CentOS 7”).
As I am going to be doing a lot with Docker over the next few months (more on that in the next few weeks) I decided it was time to update the script.
It now downloads a copy of the official RPM from get.docker.com as well as installs the latest version of docker-compose, to help with the muscle memory it creates an alias for fig so that you can still use the command (just remember to call you configuration docker-compose.yml and not fig.yml).
You can see the updated script in action below;
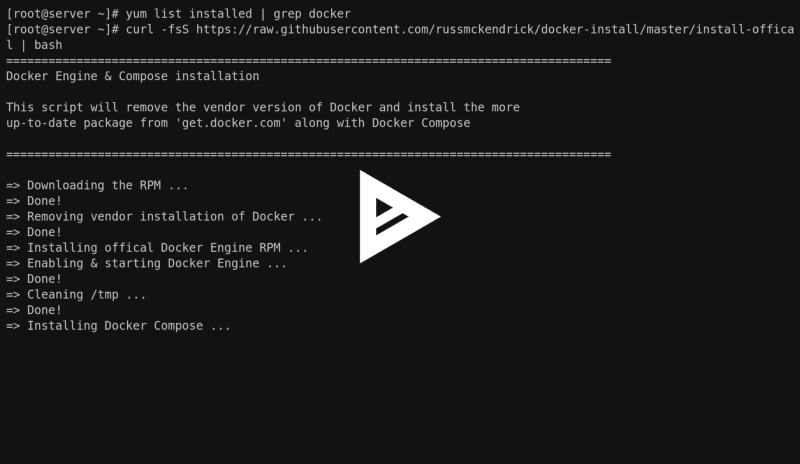
or run it using;
curl -fsS https://raw.githubusercontent.com/russmckendrick/docker-install/master/install-offical | bashIt is also available at GitHub.
Related terms: Command-Line InterfaceContainerContainer RegistryDigitalOceanDocker ComposeDotfiles
More from the archive
Flocker on CentOS 7
Russ Mckendrick explores Flocker on CentOS 7, enhancing Dockerized applications with robust persistent storage solutions.
13 min read

OpenShift Origin V3
Learn how to install and run OpenShift Origin V3 on CentOS, step-by-step guide with commands and configuration for setting up a test server using Vagrant.
5 min read

Comments