Running LLMs locally with Ollama

As I am coming to the end of writing the second edition of Lean Ansible (more news on that coming soon), I thought now would be a great time to have a look at what exciting developments have been happening in the six months now that I have a little more free time.
One of the things I have been keeping an eye on is the state of Large Language Models (LLM for short), especially since the introduction of open-source models such as Llama from Meta and Mistral 7B, which you can run locally.
Luckily for me, the fact I have been busy writing has meant enough time has passed for deployment methods to be much more straightforward and streamlined than they first were. The first tool I will look at in this post is Ollama; while it has been available since July last year, it has come on leaps and bounds since November 2023.
Ollama
So, what is Ollama? The ollama website describes the tool as:
Get up and running with large language models, locally. Run Llama 2, Code Llama, and other models. Customize and create your own.
The description is simple and to the point, much like the tool itself. Once you start using the tool, it will feel simple and basic - but don’t let that fool you; a lot is happening in the background.
You are getting a tool that allows you to pull, update, and maintain copies of dozens of models-it also runs as a server in the background on your local machine. It gives you a standard API endpoint to connect to, allowing you to consume the models in a standardised way.
Rather than discussing the tool’s features further, let’s install it and run some tests.
Installing on macOS
Installing Ollama on macOS using Homebrew couldn’t be simpler; all you need to do is run:
brew install --cask ollamaThe keen-eyed amongst you may have noticed that I am passing the -cask flag; this installs the desktop version of ollama rather than just the terminal version, which you can install by running:
brew install ollamaWhile the desktop version of Olama doesn’t have many features, running allows you to quickly start and stop the web services that run in the background by opening and closing the application. Another reason to prefer the desktop application over just running it on the command line is that it quietly handles updating itself in the background, prompting you to restart whenever a fresh update is available for download.
So now that we have it installed let’s do something.
Pulling and running a model
Anyone familiar with the Docker way of pulling and using images will instantly feel at home to download and install the llama2 7b model we need to run:
ollama pull llama2:latestThis should give you something like the following output:
pulling manifestpulling 8934d96d3f08... 100% ▕████████████████████████████████████▏ 3.8 GBpulling 8c17c2ebb0ea... 100% ▕████████████████████████████████████▏ 7.0 KBpulling 7c23fb36d801... 100% ▕████████████████████████████████████▏ 4.8 KBpulling 2e0493f67d0c... 100% ▕████████████████████████████████████▏ 59 Bpulling fa304d675061... 100% ▕████████████████████████████████████▏ 91 Bpulling 42ba7f8a01dd... 100% ▕████████████████████████████████████▏ 557 Bverifying sha256 digestwriting manifestremoving any unused layerssuccessPlease note the file size: 3.8GB, so ensure you have the bandwidth available. Luckily, once downloaded, Ollama doesn’t have to connect to the internet again (unless you want to download another model or update it).
With the model downloaded, we can now interact with it by running the command below:
ollama run llama2Once launched, you will be dropped into a chat prompt and from here, you can ask your questions:
>>> Why is the sky blue?
The sky appears blue because of a phenomenon called Rayleighscattering. When sunlightenters Earth's atmosphere, it encounters tiny molecules of gases such as nitrogen andoxygen. These molecules absorb some of the light and scatter the rest in alldirections. The shorter wavelengths of light, such as blue and violet, are scatteredmore than the longer wavelengths, such as red and orange. This is known asRayleigh scattering.
As a result of this scattering, the blue light is dispersed throughout the atmosphere,giving the sky its blue appearance. The same effect occurs when you see a sunset or asunrise, where the light has to travel through more of the Earth's atmosphere,resulting in more scattering and a more intense blue color.
It's worth noting that the exact shade of blue can vary depending on a number offactors, including the time of day, the amount of dust and water vapor in the airand the angle of the sun. But overall, the blue color of the sky is a result ofthe way light interacts with the Earth's atmosphere.
>>> /?Available Commands:  /set            Set session variables  /show           Show model information  /load <model>   Load a session or model  /save <model>   Save your current session  /bye            Exit  /?, /help       Help for a command  /? shortcuts    Help for keyboard shortcuts
Use """ to begin a multi-line message.
>>> /bye
Entering any text in at the >>> prompt will be sent directly to the module; there is a help menu that can be accessed by typing /?; this will show the available commands, one of which is /bye which exists the chat.
Using the API
As mentioned, Ollama runs a web-based API on your local machine, which listens on port 11434 by default. You can view this by going http://localhost:11434 in your browser, and you should receive the message “Ollama is running” - you can send requests directly to the API using cURL, for example:
curl -X POST http://localhost:11434/api/generate -d '{ "model": "llama2", "prompt":"Why is the sky blue?", "stream": false }'After a second or two, a response is returned:
{ "model": "llama2", "created_at": "2024-03-29T11:16:00.231151Z", "response": "\nThe sky appears blue because of a phenomenon called Rayleigh scattering. When sunlight enters Earth's atmosphere, it encounters tiny molecules of gases such as nitrogen and oxygen. These molecules scatter the light in all directions, but they scatter shorter (blue) wavelengths more than longer (red) wavelengths. This is known as Rayleigh scattering.\n\nAs a result of this scattering, the blue light is dispersed throughout the atmosphere, giving the sky its blue appearance. The blue light is scattered in all directions, but it is most visible in the direction of the sun, which is why the sky appears blue during the daytime.\n\nIt's worth noting that the color of the sky can appear different under different conditions. For example, during sunrise and sunset, the sky can take on hues of red, orange, and pink due to the angle of the sunlight and the scattering of light by atmospheric particles. In urban areas, the light pollution from city streets can make the sky appear more yellow or orange than blue.\n\nSo, to summarize, the sky appears blue because of Rayleigh scattering, which scatters shorter (blue) wavelengths of light more than longer (red) wavelengths, giving the appearance of a blue sky.", "done": true, "context": [ 518, 25580, 29962, 29889 ], "total_duration": 9717238042, "load_duration": 663584, "prompt_eval_duration": 167513000, "eval_count": 291, "eval_duration": 9548392000}In the output above, I truncated the context values as many exist.
Running another model
Do you want to run another model, like the newly launched Mistral 7B v0.2 release (which, when writing this post, was released last week)? No problem, just run:
ollama run mistral:latestThis will pull the model and drop us straight at a chat prompt:
pulling manifestpulling e8a35b5937a5... 100% ▕████████████████████████████████████▏ 4.1 GBpulling 43070e2d4e53... 100% ▕████████████████████████████████████▏  11 KBpulling e6836092461f... 100% ▕████████████████████████████████████▏   42 Bpulling ed11eda7790d... 100% ▕████████████████████████████████████▏   30 Bpulling f9b1e3196ecf... 100% ▕████████████████████████████████████▏  483 Bverifying sha256 digestwriting manifestremoving any unused layerssuccess
>>> Why is the sky blue? The color of the sky appears blue due to a process called Rayleigh scattering. Whenthe sun's rays reach Earth's atmosphere, they are scattered in all directions by thegases and particles in the air. Blue light has a shorter wavelength and gets scatteredmore easily than other colors such as red or yellow. As a result, when we look up atthe sky, we see the blue color predominantly. Additionally, during sunrise and sunset,the sky can appear red, pink, or orange due to the scattering of sunlight in the Earth'satmosphere at those specific angles.
>>> /bye
As you can see, this time, it was a 4.1GB download - which now means we have around 8GB of LLMs downloaded and sat on our local machine. To interact with mistral using the API, switch the model name and send your request:
curl -X POST http://localhost:11434/api/generate -d '{ "model": "mistral", "prompt":"Why is the sky blue?", "stream": false }'This returns the same JSON response (apart from content, of course, as it’s a different model). Before moving on to the next part of the post, let’s pull down one more model:
ollama pull codellama:latestOpen WebUI
The authors describe the project, which was formally called Ollama WebUI - so you can guess what it used for, as;
Open WebUI is an extensible, feature-rich, and user-friendly self-hosted WebUI designed to operate entirely offline. It supports various LLM runners, including Ollama and OpenAI-compatible APIs.
It is distributed in a container, so we can run it using Docker or Podman - with little in the way of any prerequisites needing to be installed.
Running on macOS
The only steps we need to do is create somewhere to store our data in, to do this I have a folder called ~/Containers/ on my machine so lets stick an open-webui folder in there:
mkdir -p ~/Containers/open-webui/cd ~/Containers/open-webui/docker image pull ghcr.io/open-webui/open-webui:mainWith the folder in there and the image pulled, the following command will launch Open WebUI and bind it to port 3000 on our local machine:
docker container run \ --detach \ --publish 3000:8080 \ --add-host=host.docker.internal:host-gateway \ --volume ~/Containers/open-webui:/app/backend/data \ --name open-webui \ --restart always \ ghcr.io/open-webui/open-webui:mainWith the container running, go to http://localhost:3000/.
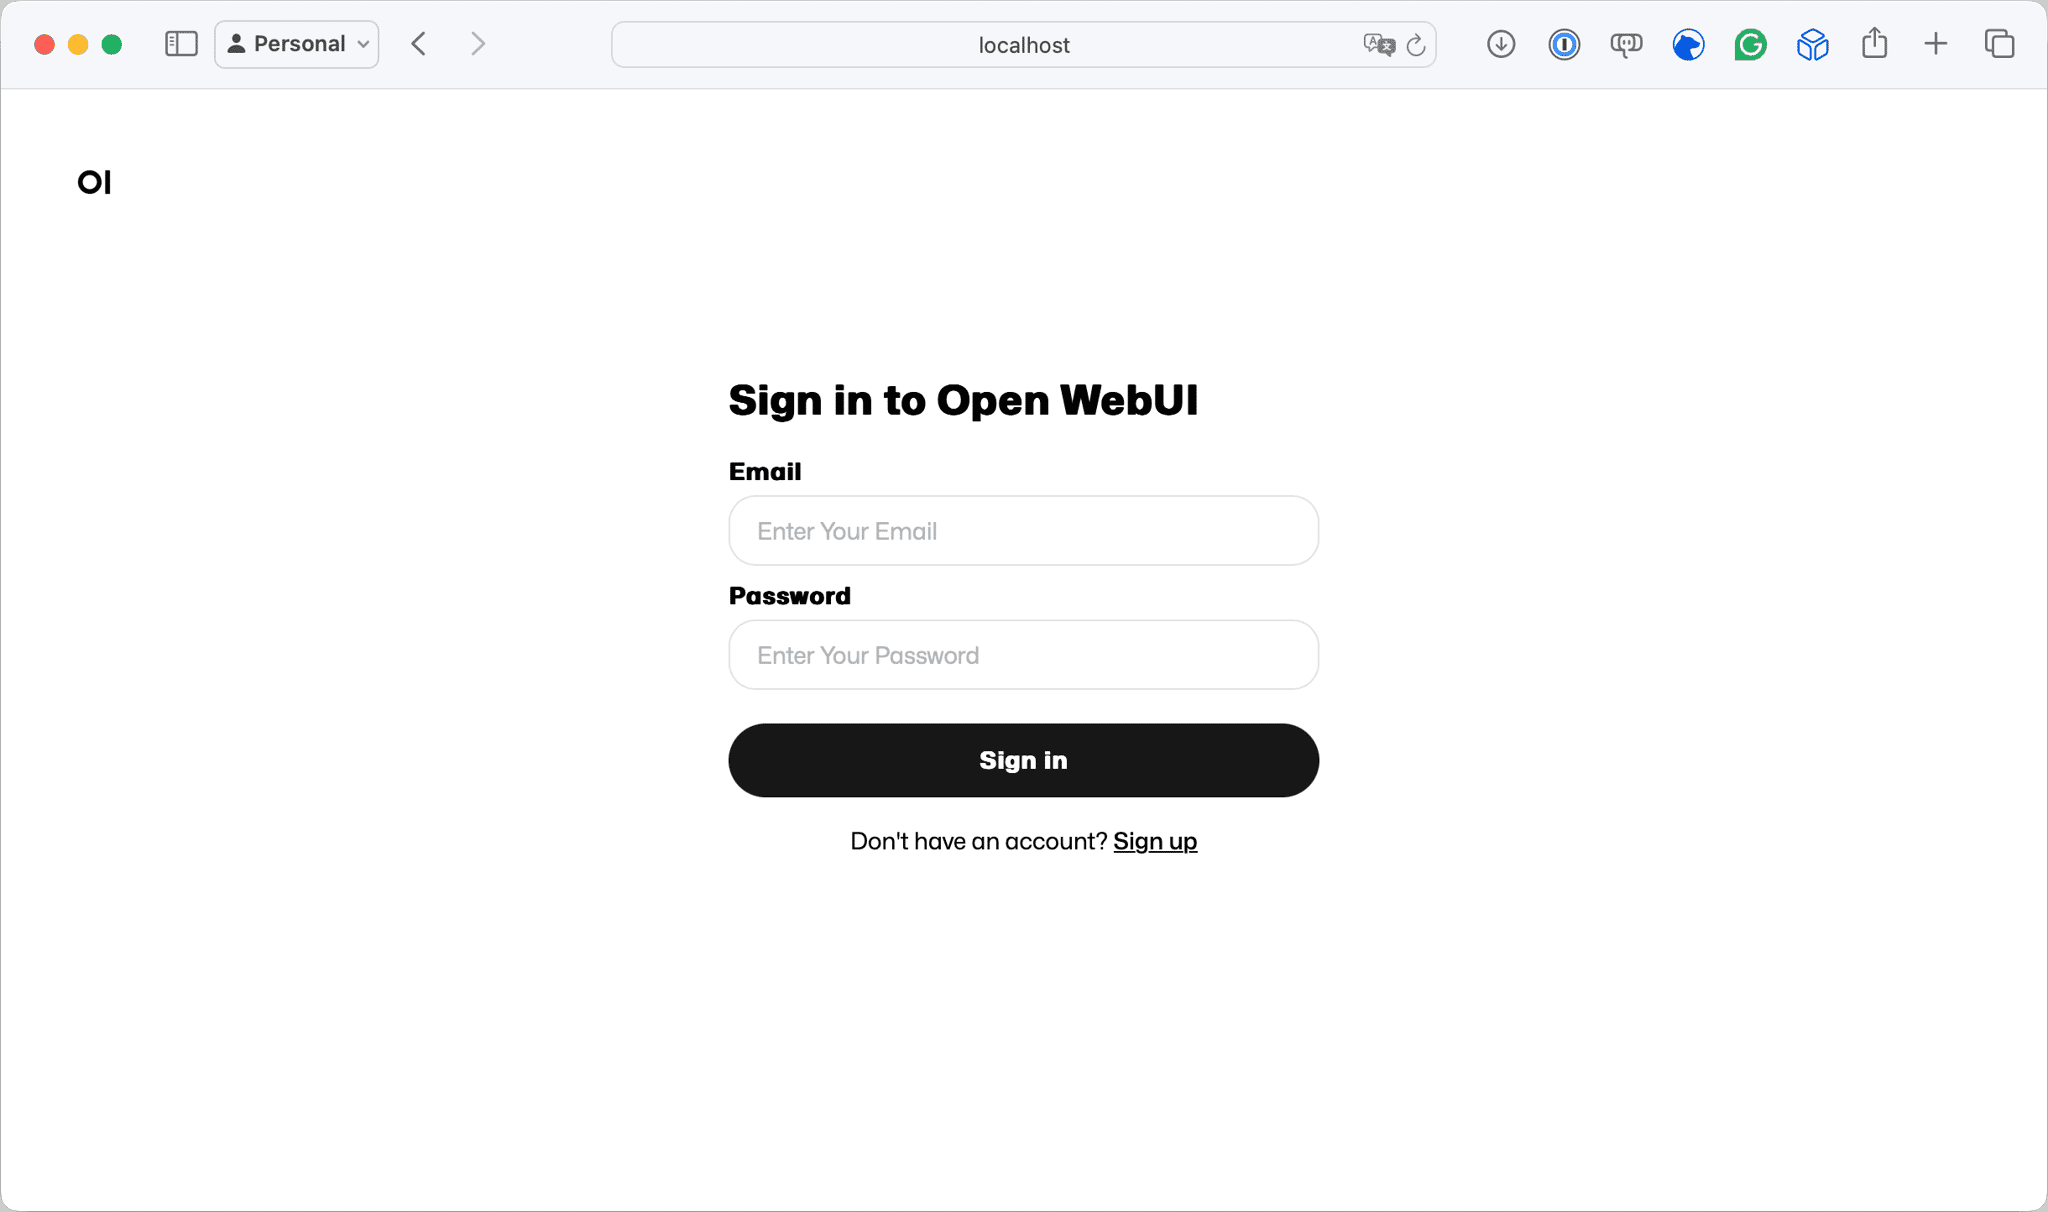
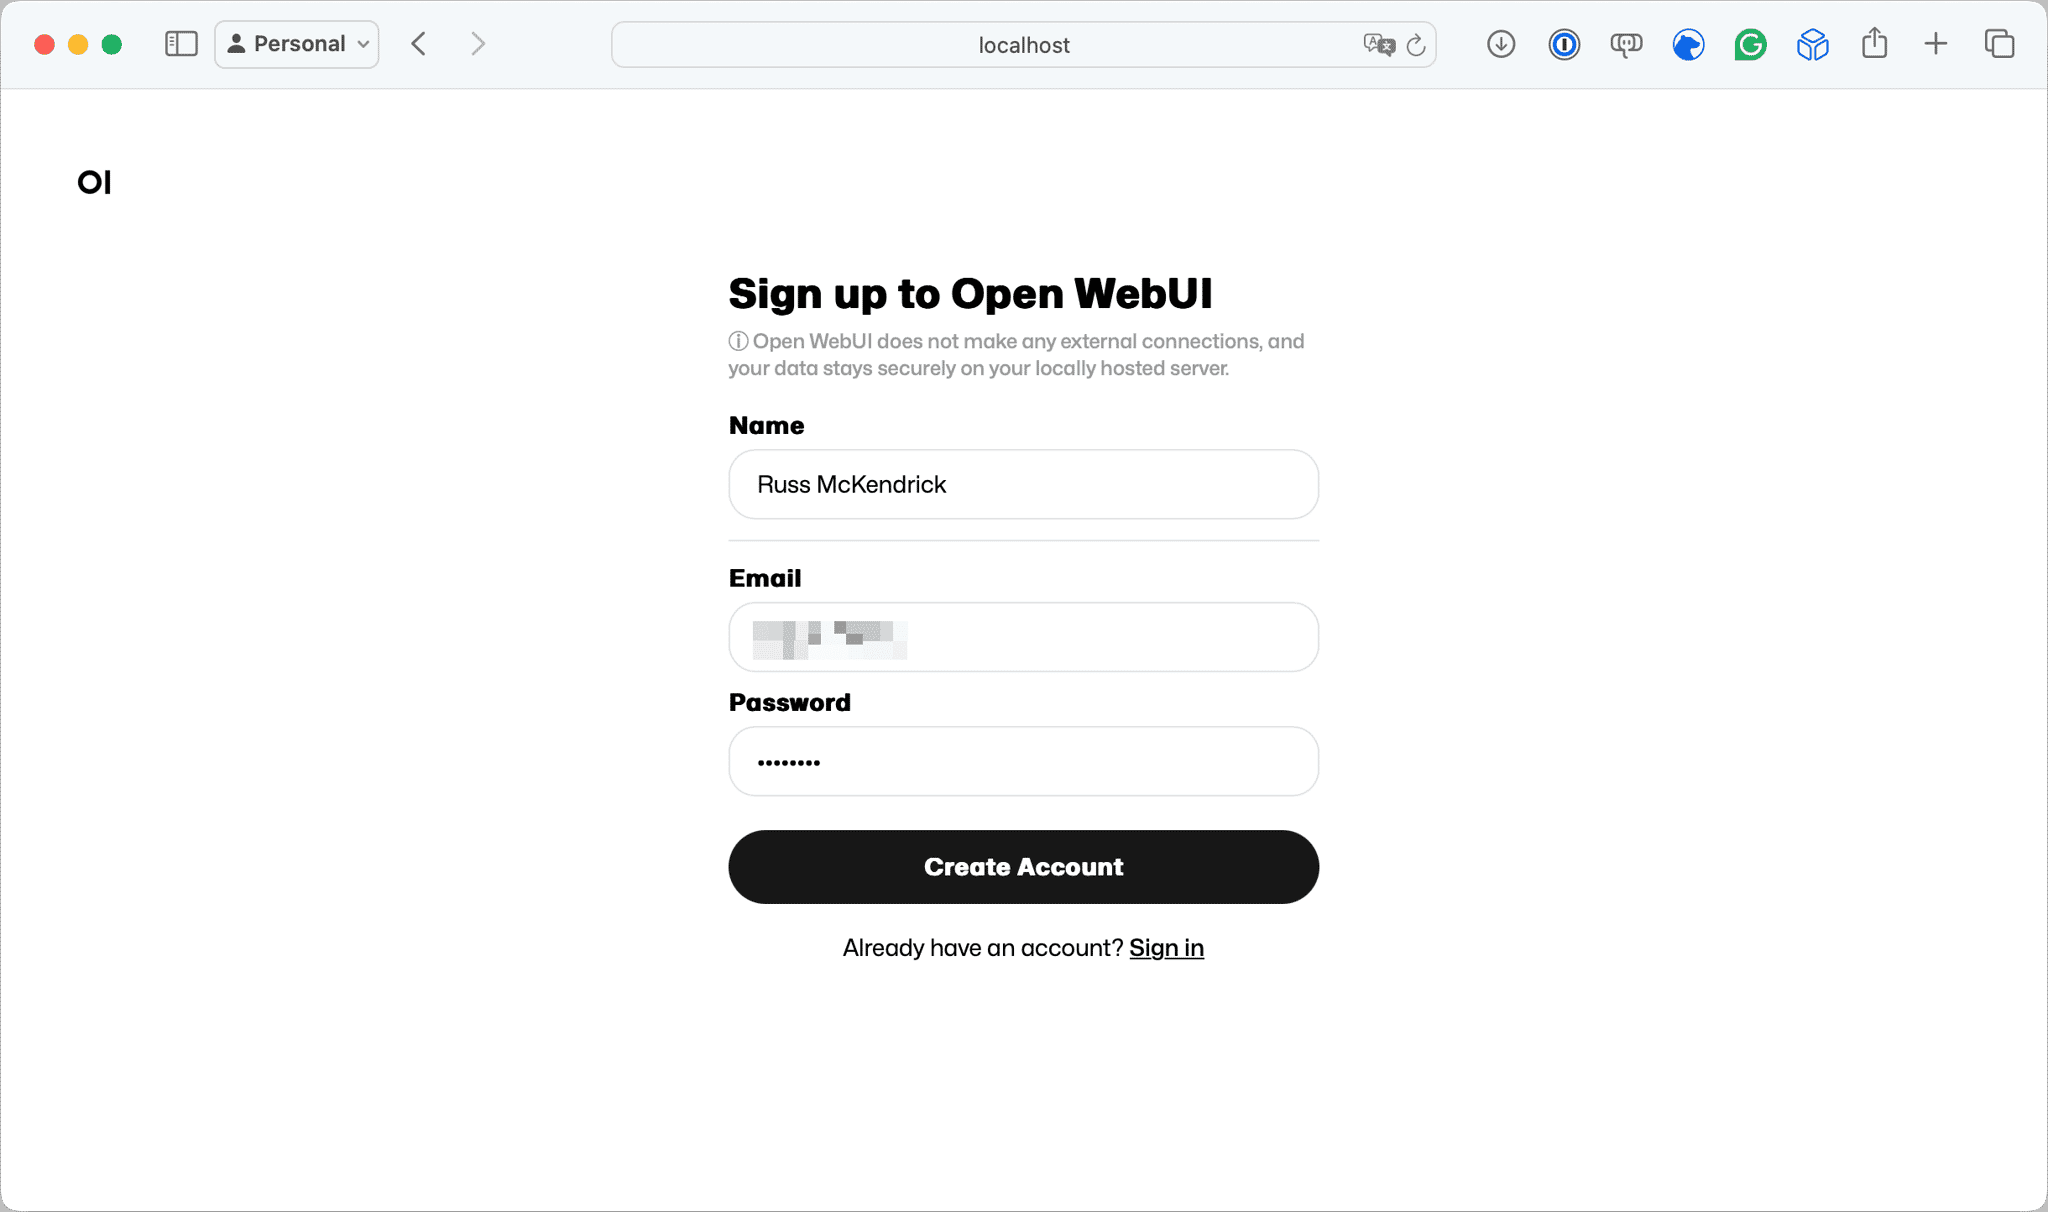
Our first chat
A login page should greet you; click on the Sign-Up link and create a user; once you have an account - you will be presented with a ChatGPT-like interface - select a model from the drop-down menu at the top of the chat box and ask your question:
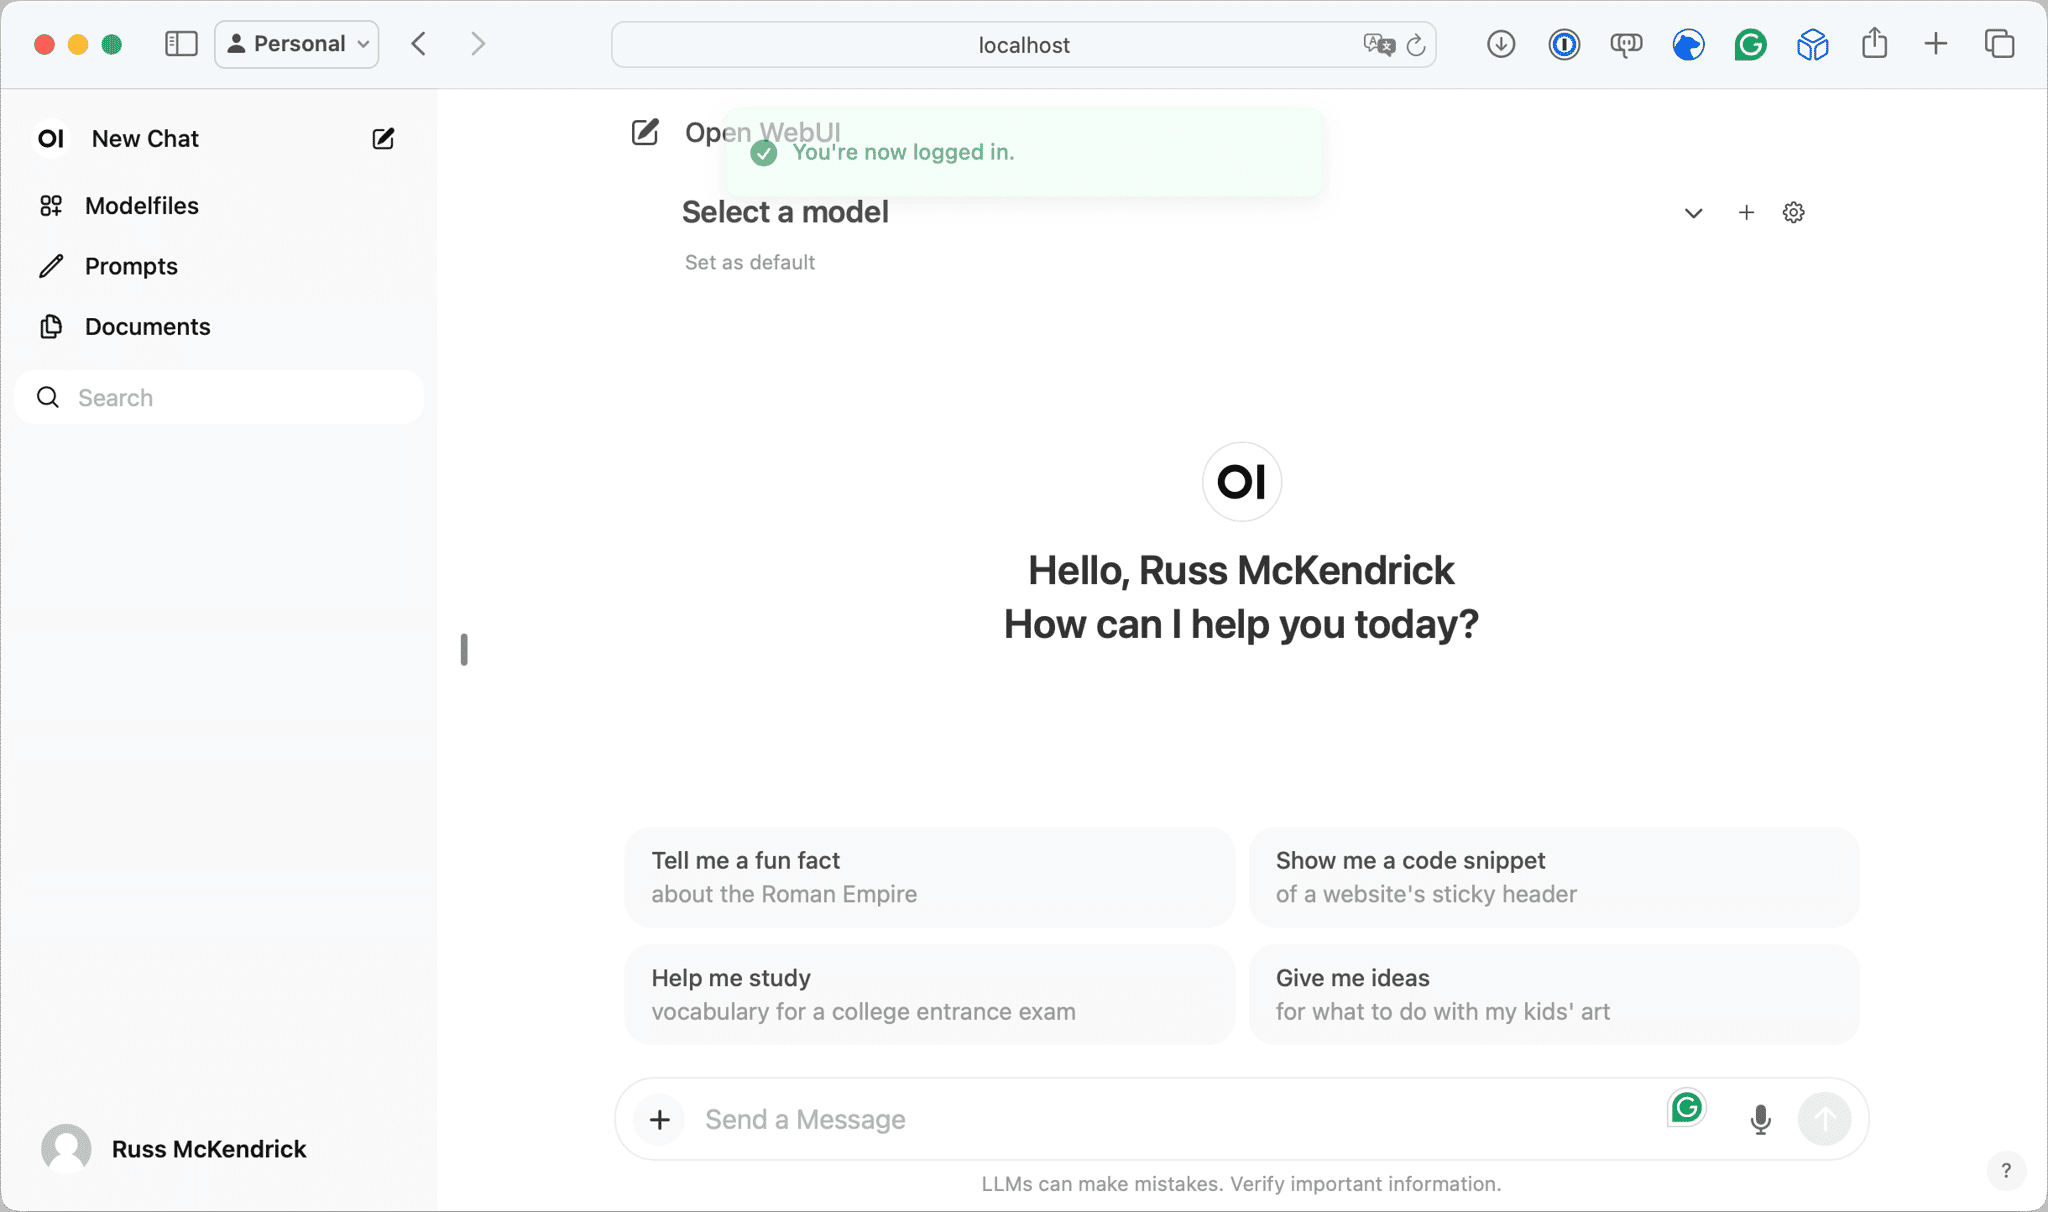

As you can see from the screenshots above, the interface is familiar and quite function-rich, so let’s try something a little more interesting. As mentioned at the start of the post, I have completed the first full draft of the second edition of Learn Ansible, which means I have PDF copies of all the chapters on my machine. Let’s upload Chapter 01 and chat about it.
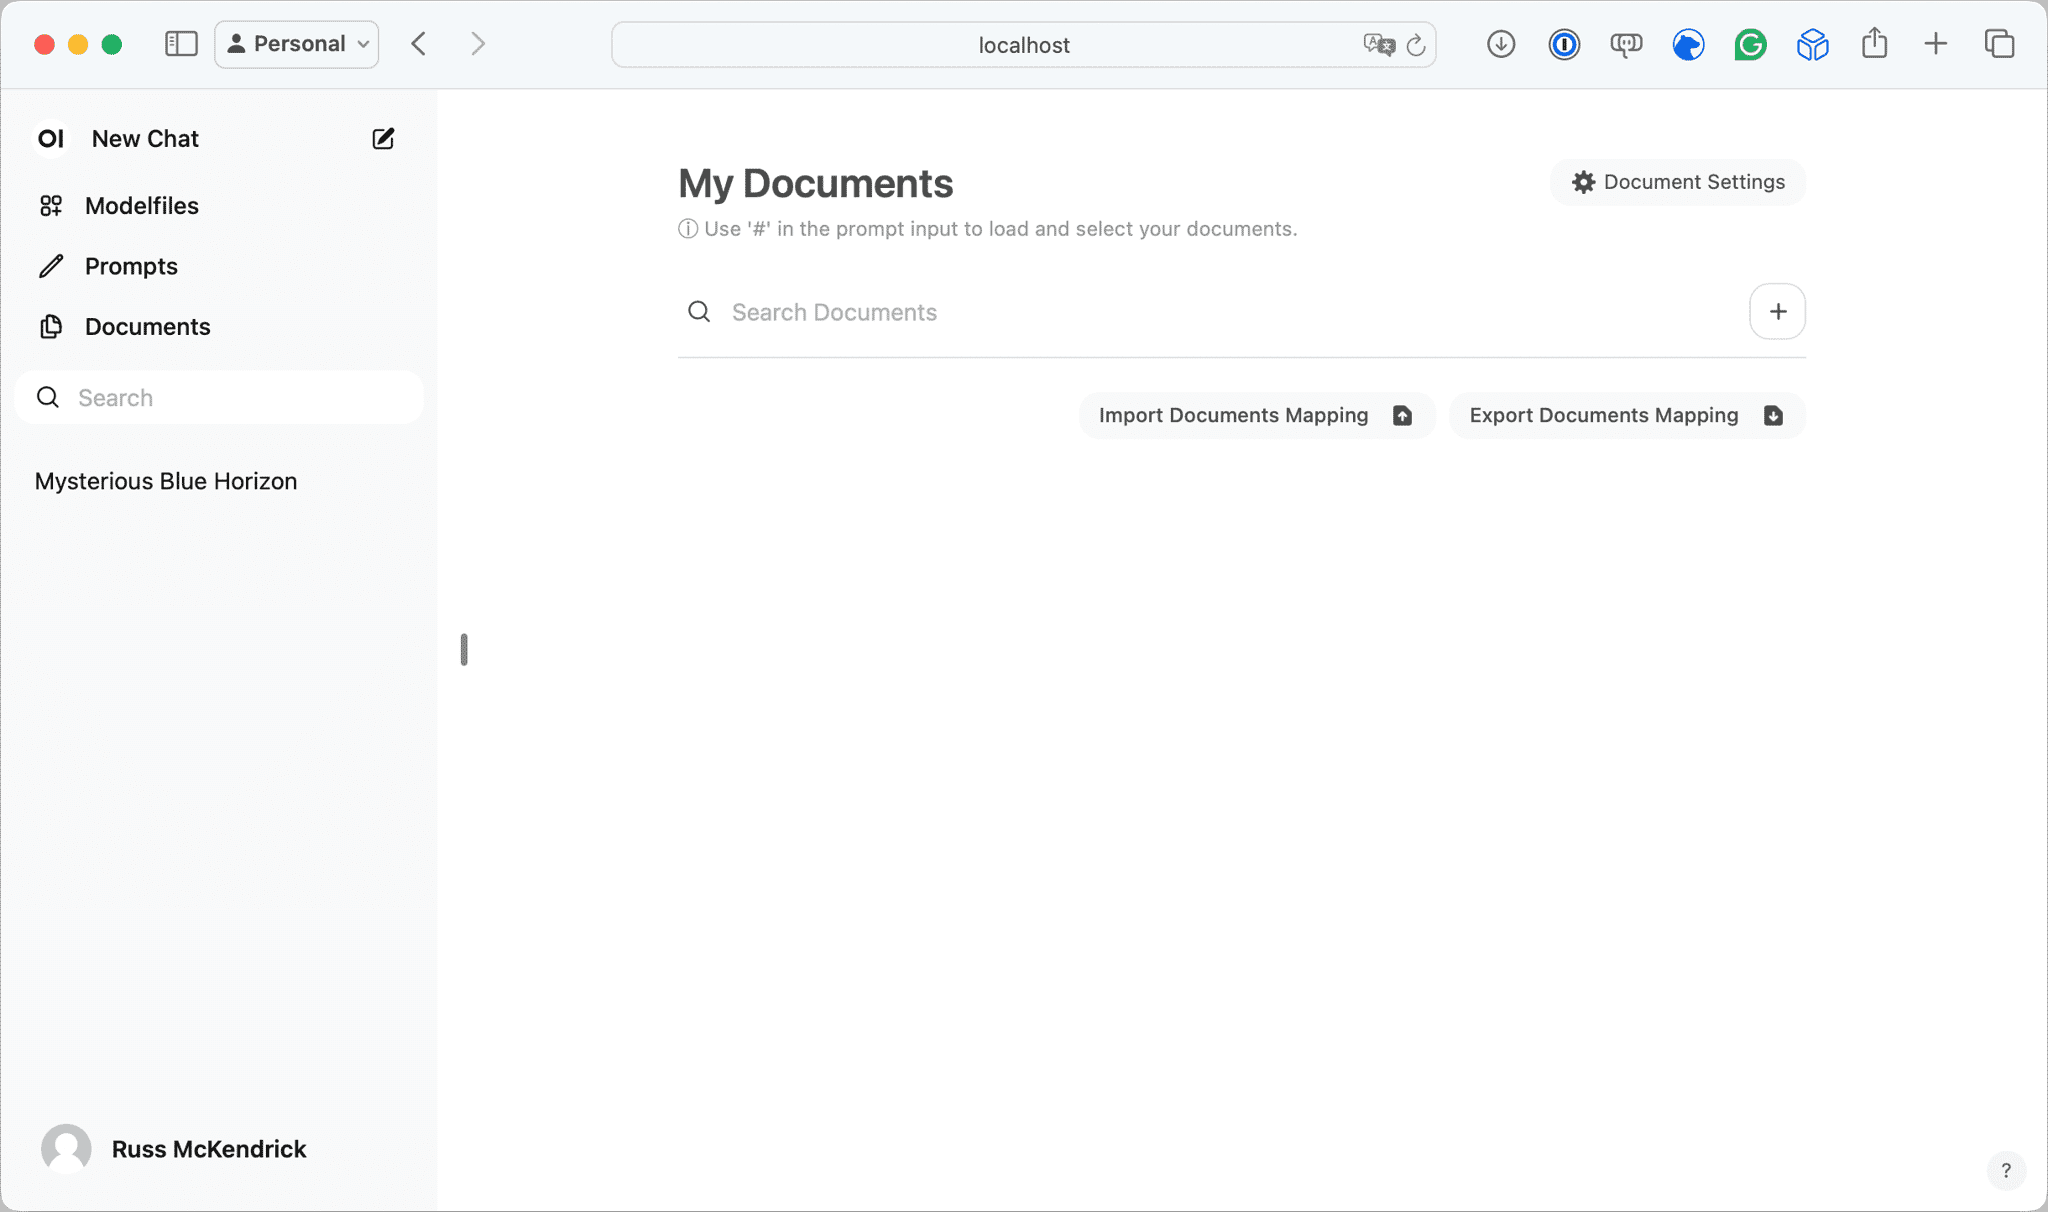
Talking with a document
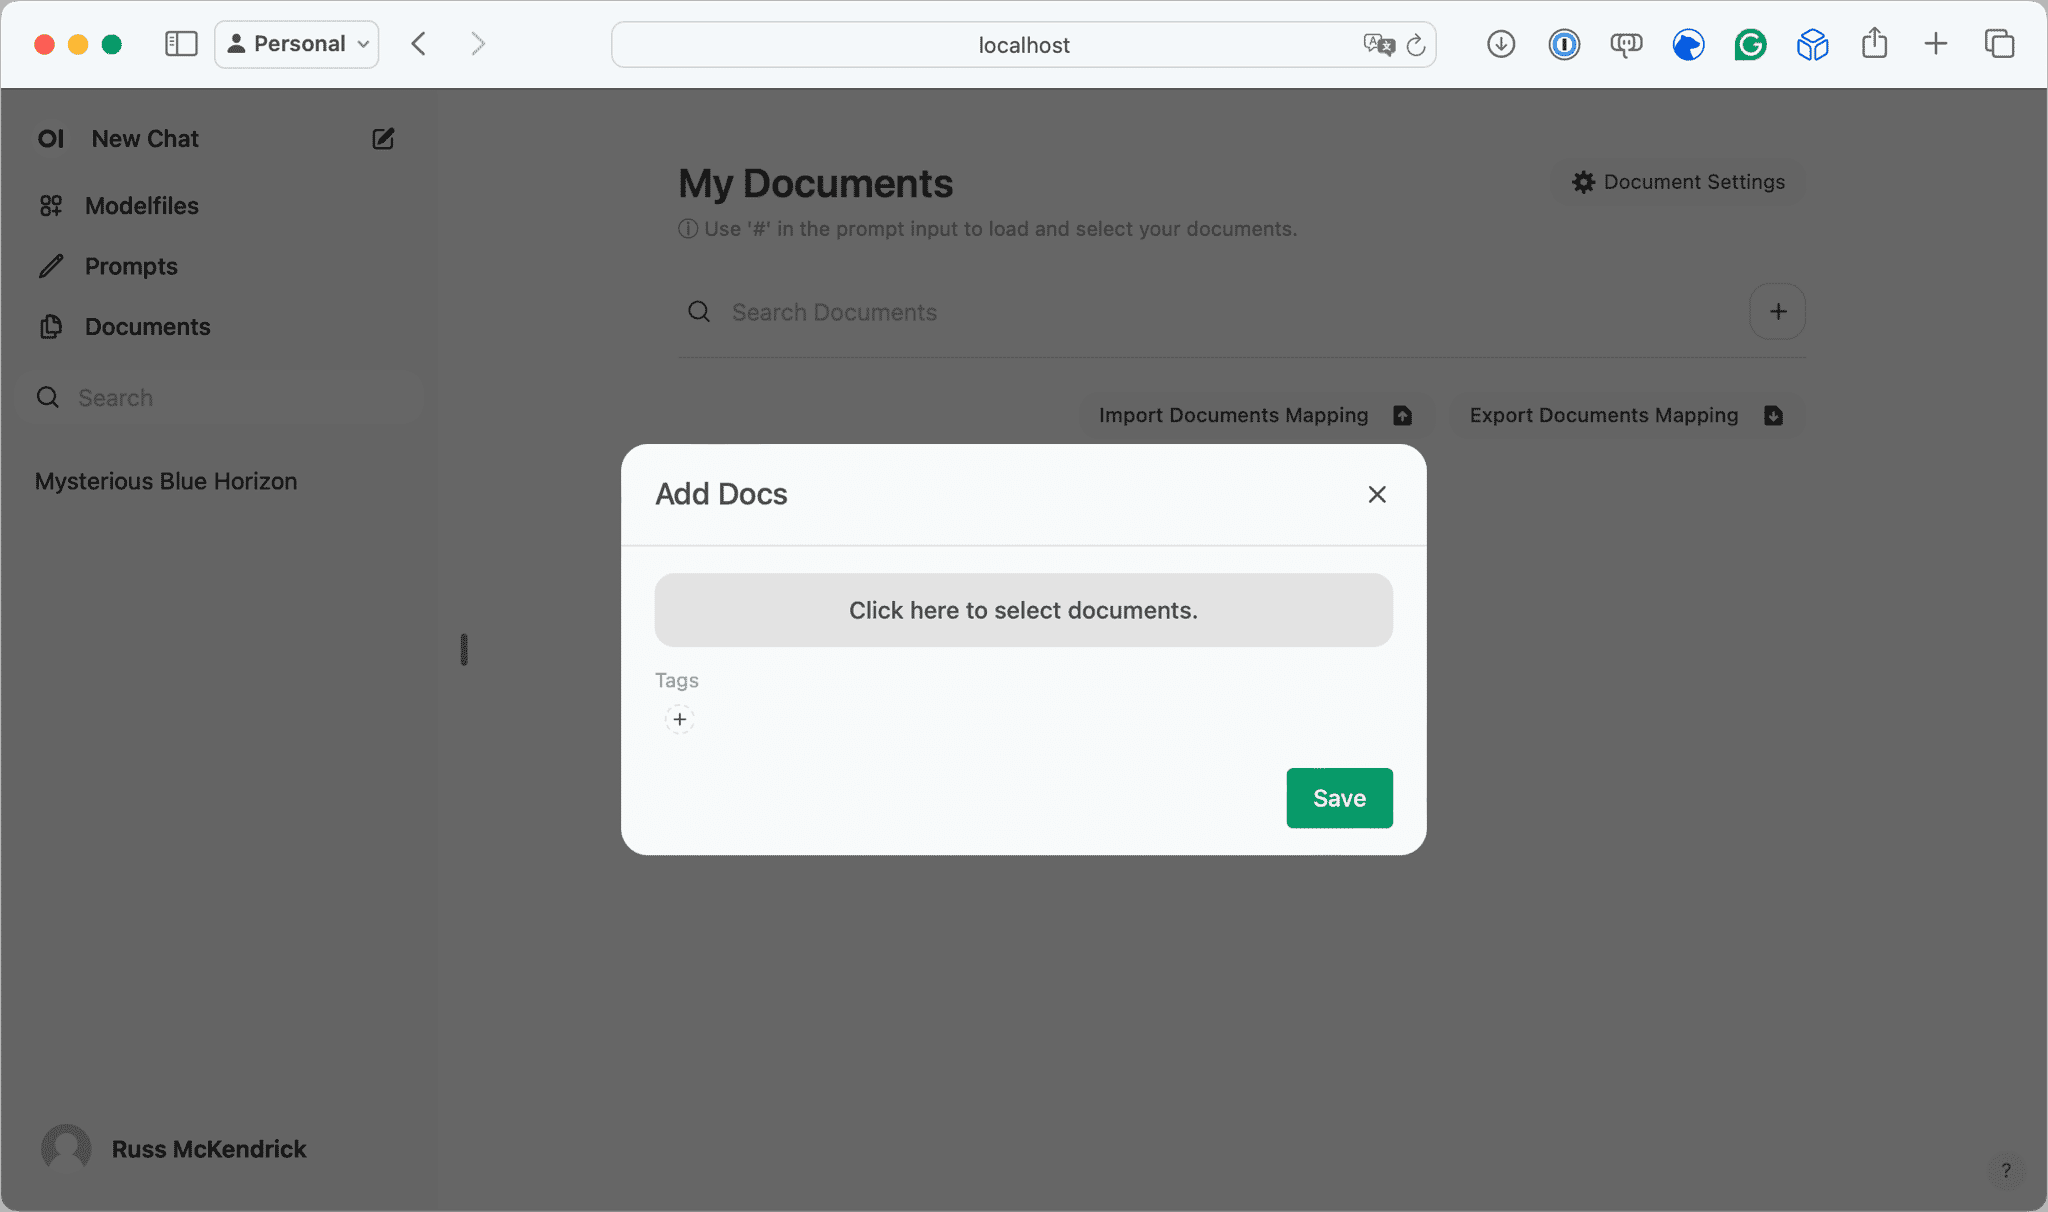
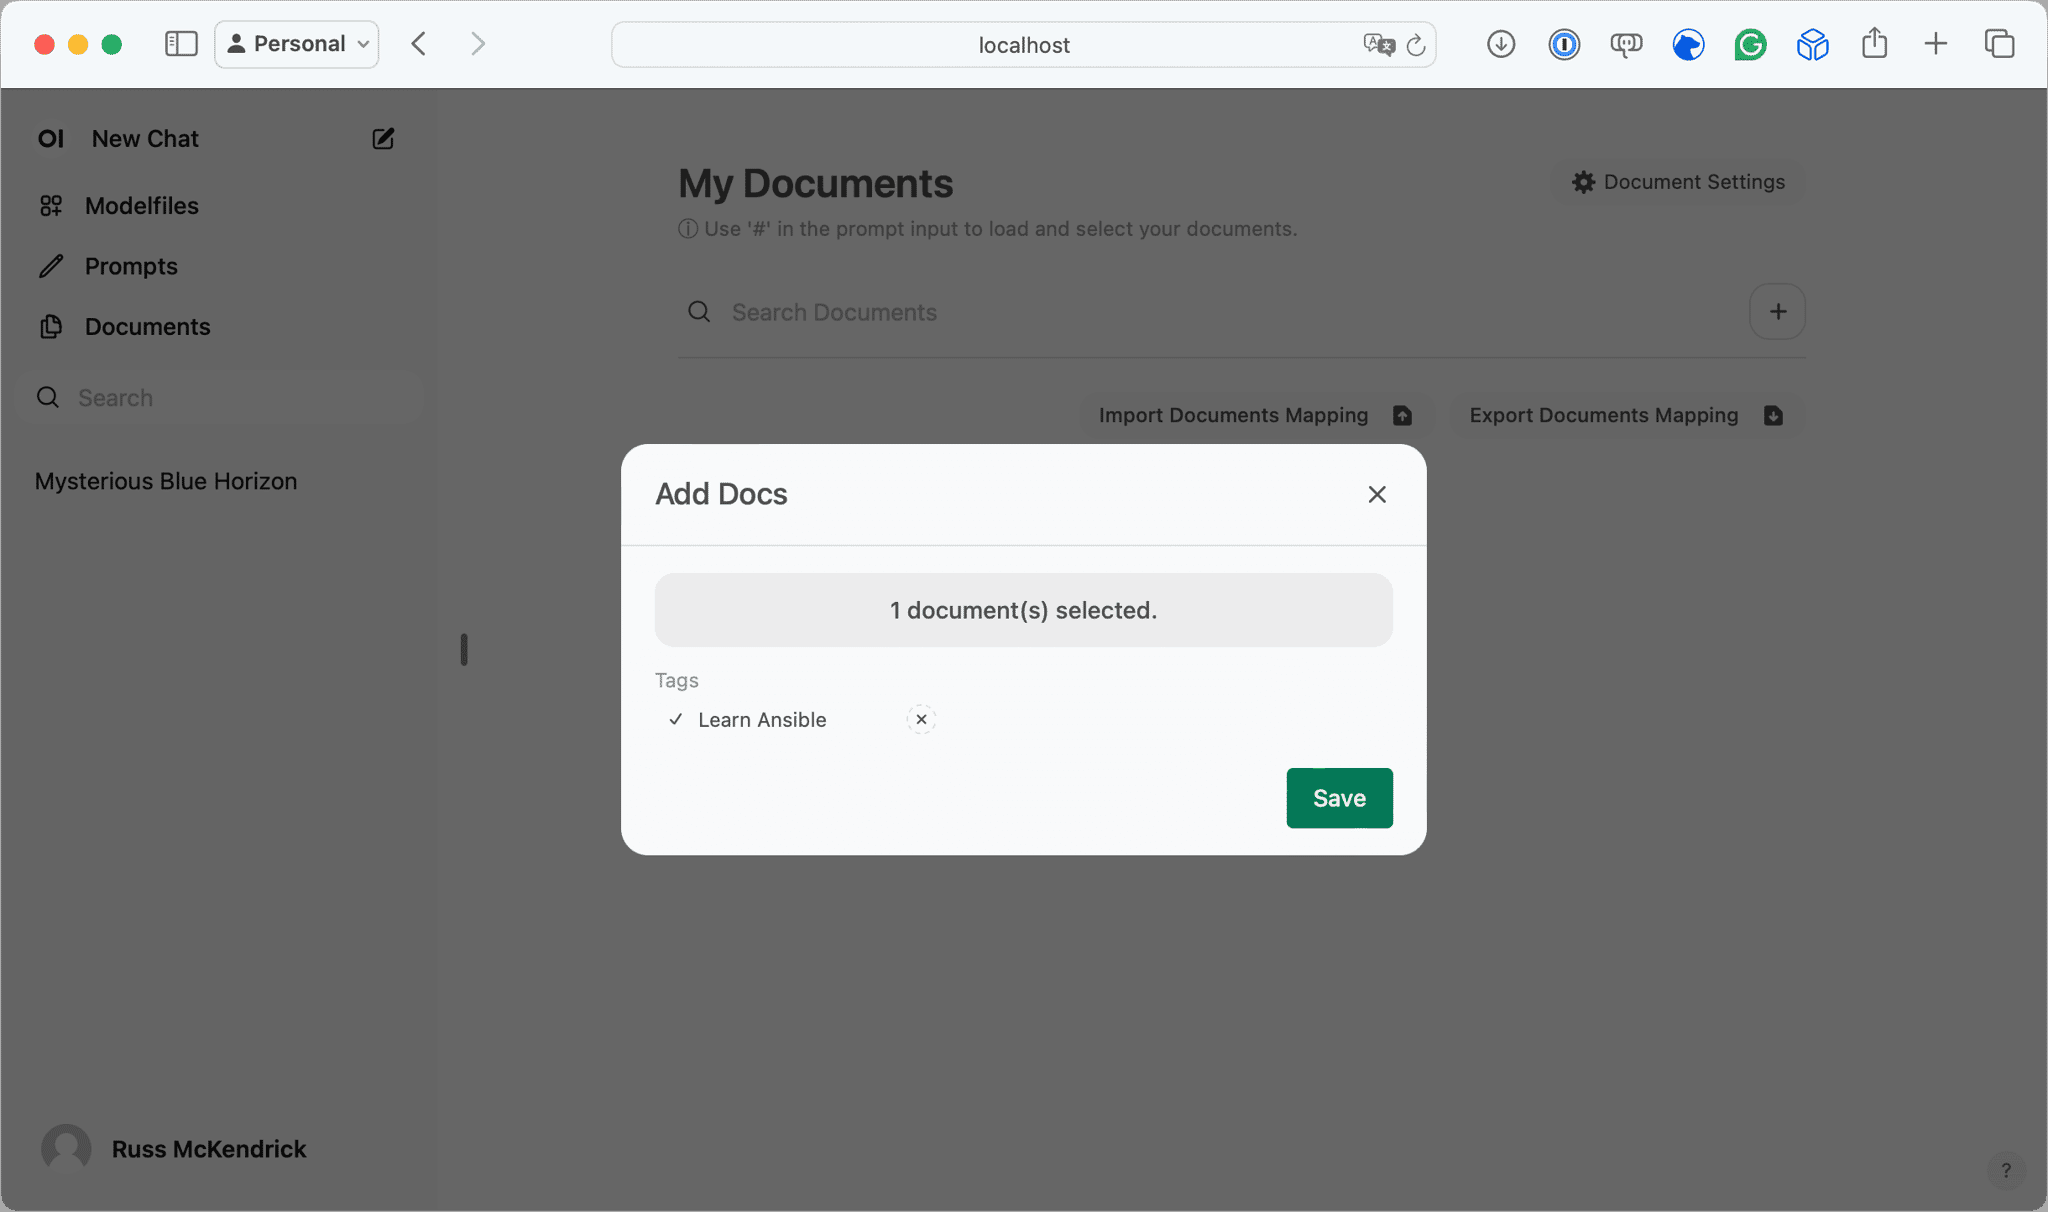
Click on Documents in the left-hand menu and then the + button, upload your file and if you like tag it:
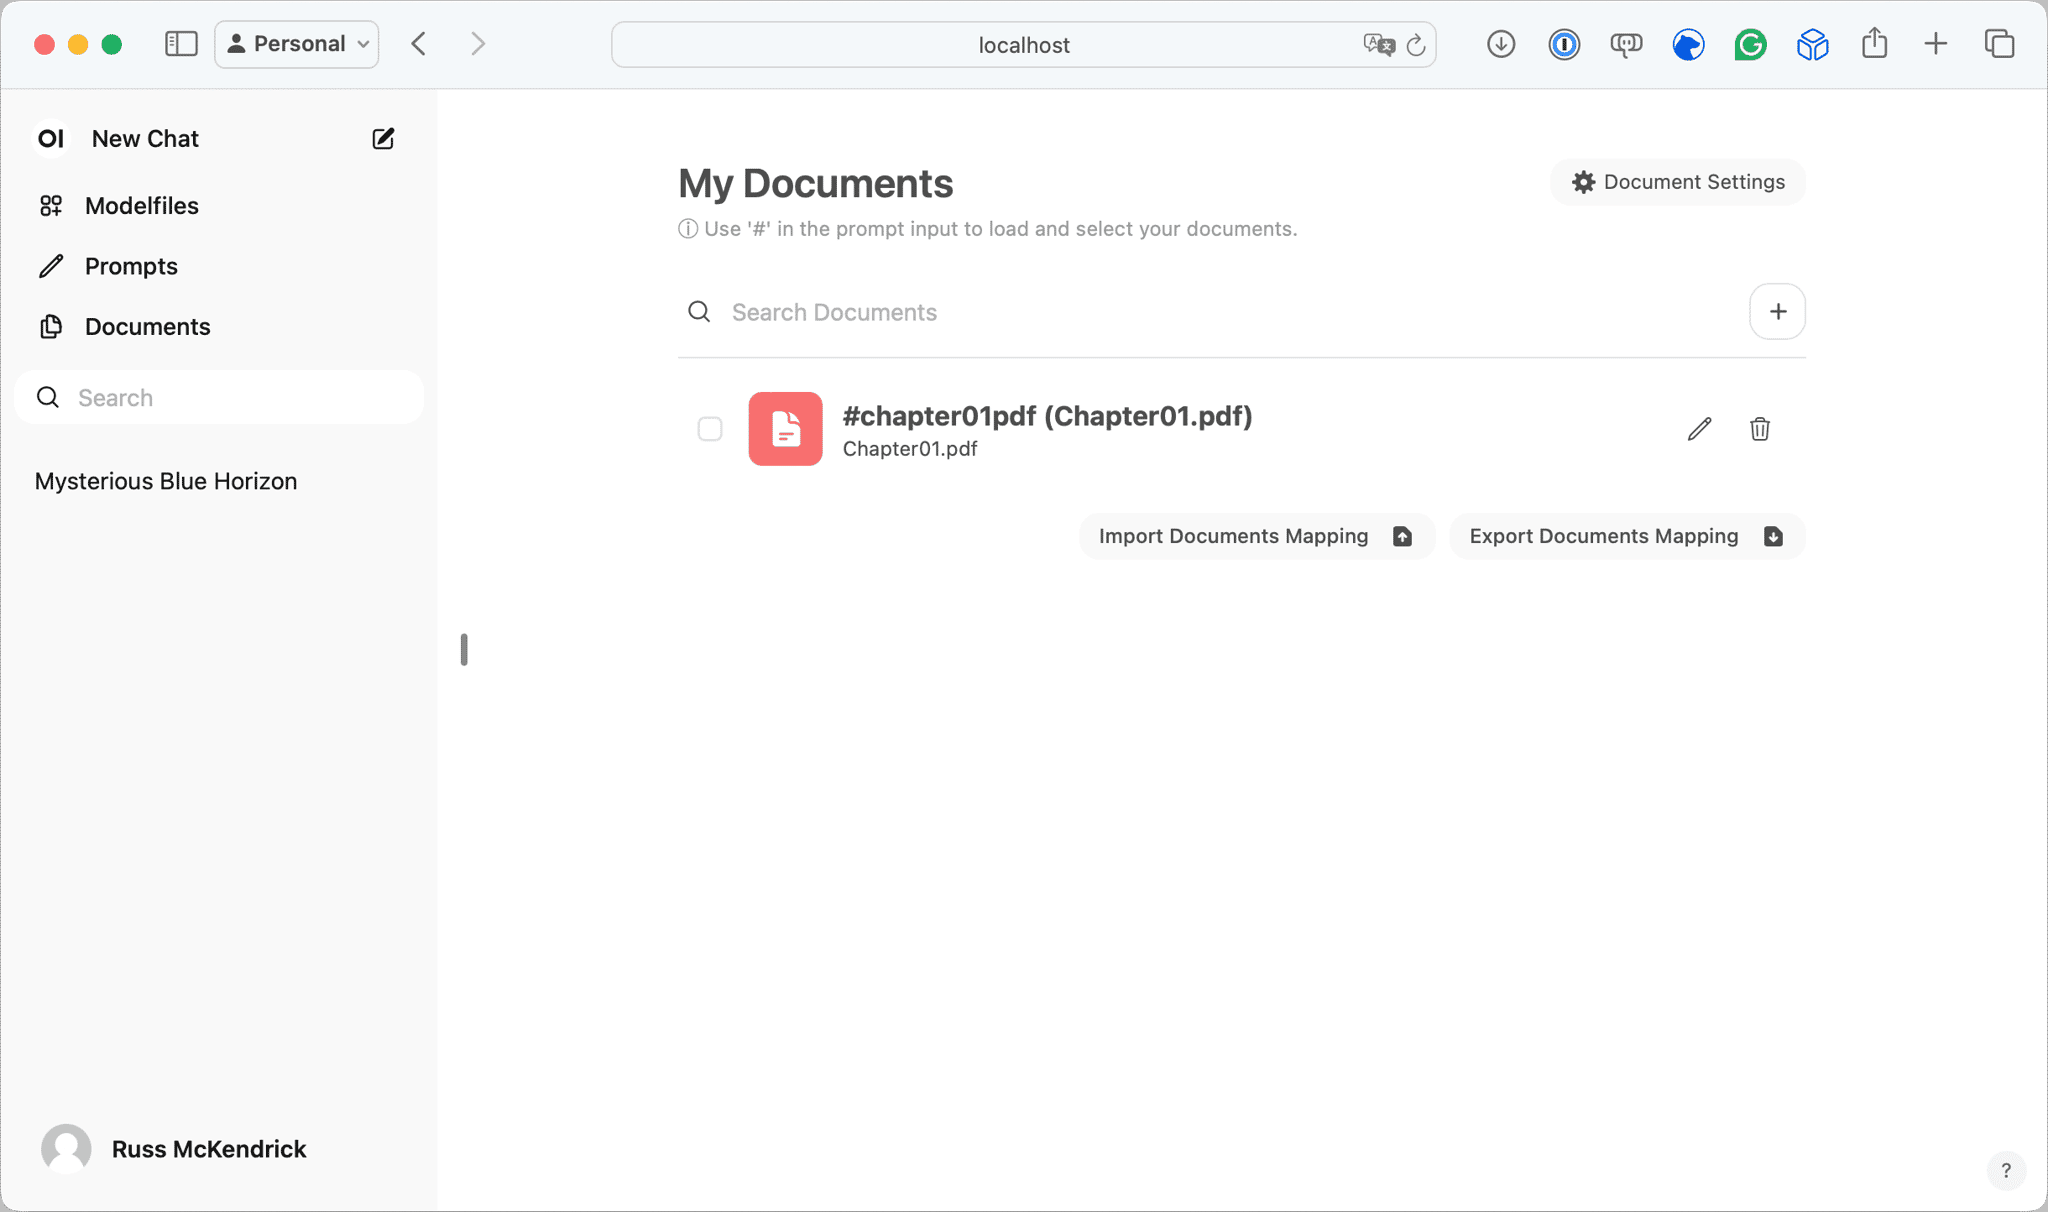
Now, let’s ask Mistral something about the document I uploaded. In the chapter, I talk about a declarative approach to IaC and give an example of how a declarative IaC would run.
As you can see from the screens above, I typed in #chatper01pd to select and attached the uploaded document to the chat prompt and then asked the question below:
After a few seconds, I was given the following response:
I must admit that it is pretty spot on with what I wrote. Let’s get a little meta, pardon the pun, and get Llama2 to write our response first. Select the file again by using #chatper01pdf and then type @llama2 , you will get a prompt that Llama2 is thinking, and then it will fill in a response:
Upon clicking send, after a second, I got the following response:
There are a few important things to remember here: first, this is all running on my local machine-at no point did I send the Chapter01 PDF file to a third-party API, and I could have disabled the network if I wanted. It is incredible how quickly this technology is moving forward!!!
I could discuss many more features, but this post is getting quite long, and there is one more thing I would like to cover.
One more thing
The Open WebUI interface also works well in a mobile browser, so let’s use ngrok to open a tunnel from our local machine to the internet so we can access it - to do this, sign up for an ngrok account at their site - the service is described as:
ngrok combines your reverse proxy, firewall, API gateway, and global load balancing to deliver apps and APIs.
Once you have signed up, its free, and downloaded the agent, run the following command:
ngrok http 3000This will create the tunnel, give you an HTTPS URL to access the content on and display some stats:
ngrok                                                        (Ctrl+C to quit)
Full request capture now available in your browser: https://ngrok.com/r/ti
Session Status                onlineAccount                       Russ Mckendrick (Plan: Free)Version                       3.8.0Region                        Europe (eu)Web Interface                 http://127.0.0.1:4040Forwarding                    https://f112-11e3-8082.ngrok-free.app -> http://lo
Connections                   ttl     opn     rt1     rt5     p50     p90                              39      2       1.20    1.20    0.12    0.19
HTTP Requests-------------
GET /assets/fonts/Mona-Sans.woff2                       200 OKGET /_app/immutable/assets/14.e43bb62b.css              200 OKGET /static/favicon.png                                 200 OKGET /_app/immutable/nodes/14.efdc13cb.js                200 OKGET /_app/immutable/chunks/translation.d76e2229.js      200 OKGET /_app/immutable/chunks/_commonjsHelpers.de833af9.js 200 OKGET /_app/immutable/chunks/spread.8a54911c.js           200 OKGET /_app/immutable/chunks/singletons.a9f7f5ea.js       200 OKGET /_app/immutable/chunks/stores.a0da6027.js           200 OKGET /_app/immutable/chunks/index.ec044ede.js            200 OK
As you can see from the screens below, if you goto the URL given by ngrok and click through the warning you will be taken to the login page, and from their you can use the mobile UI:
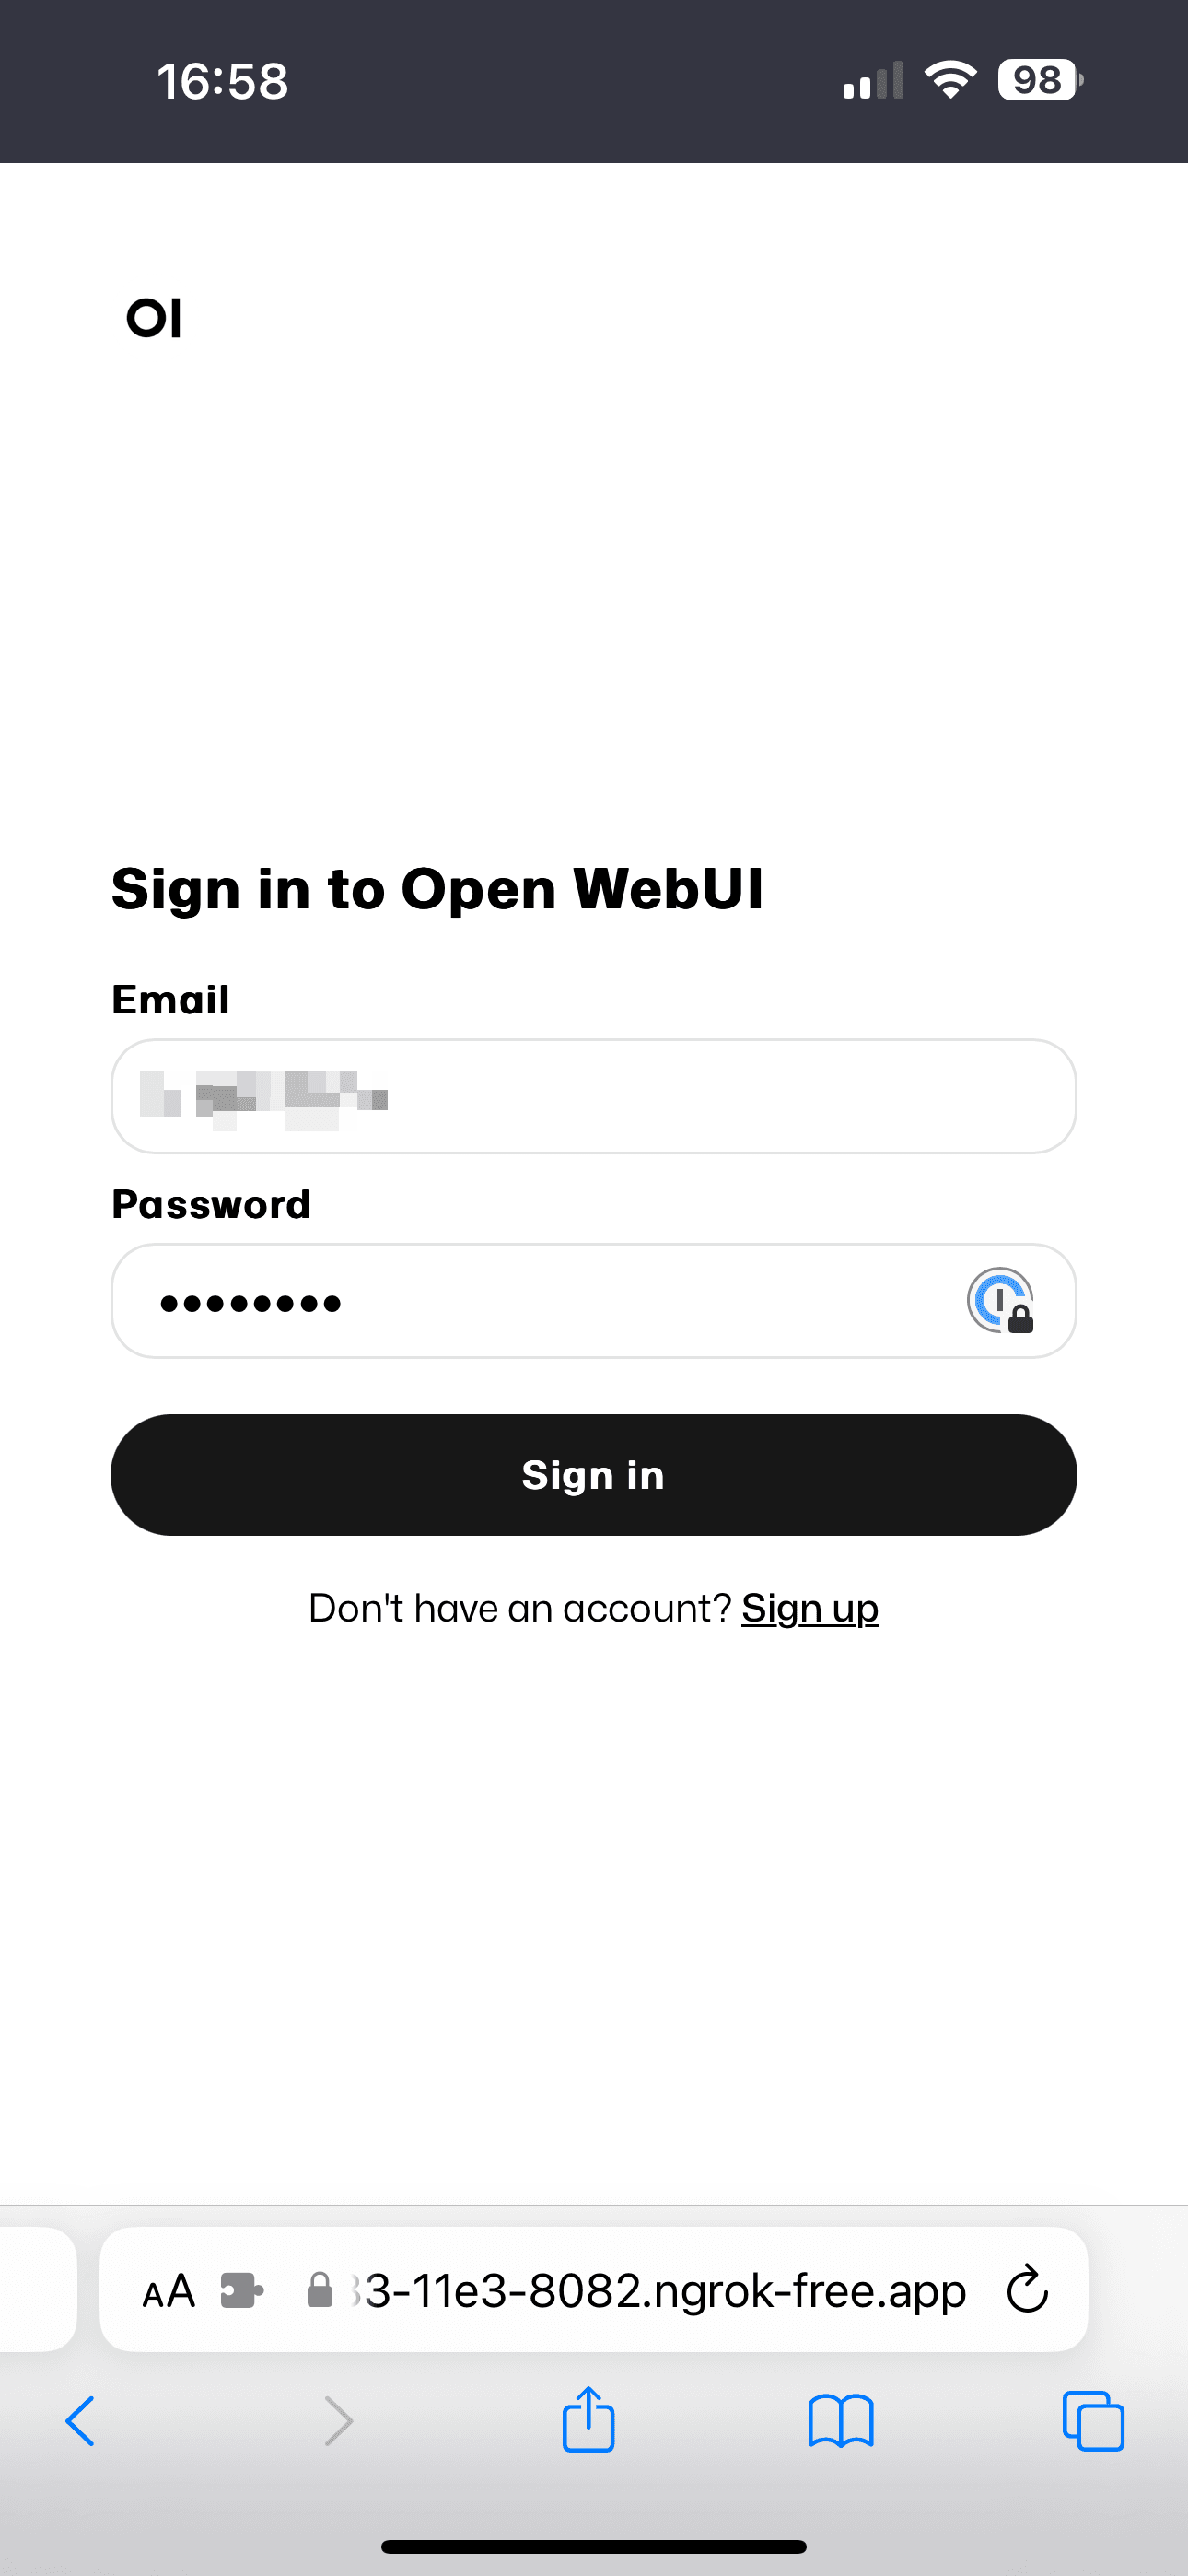
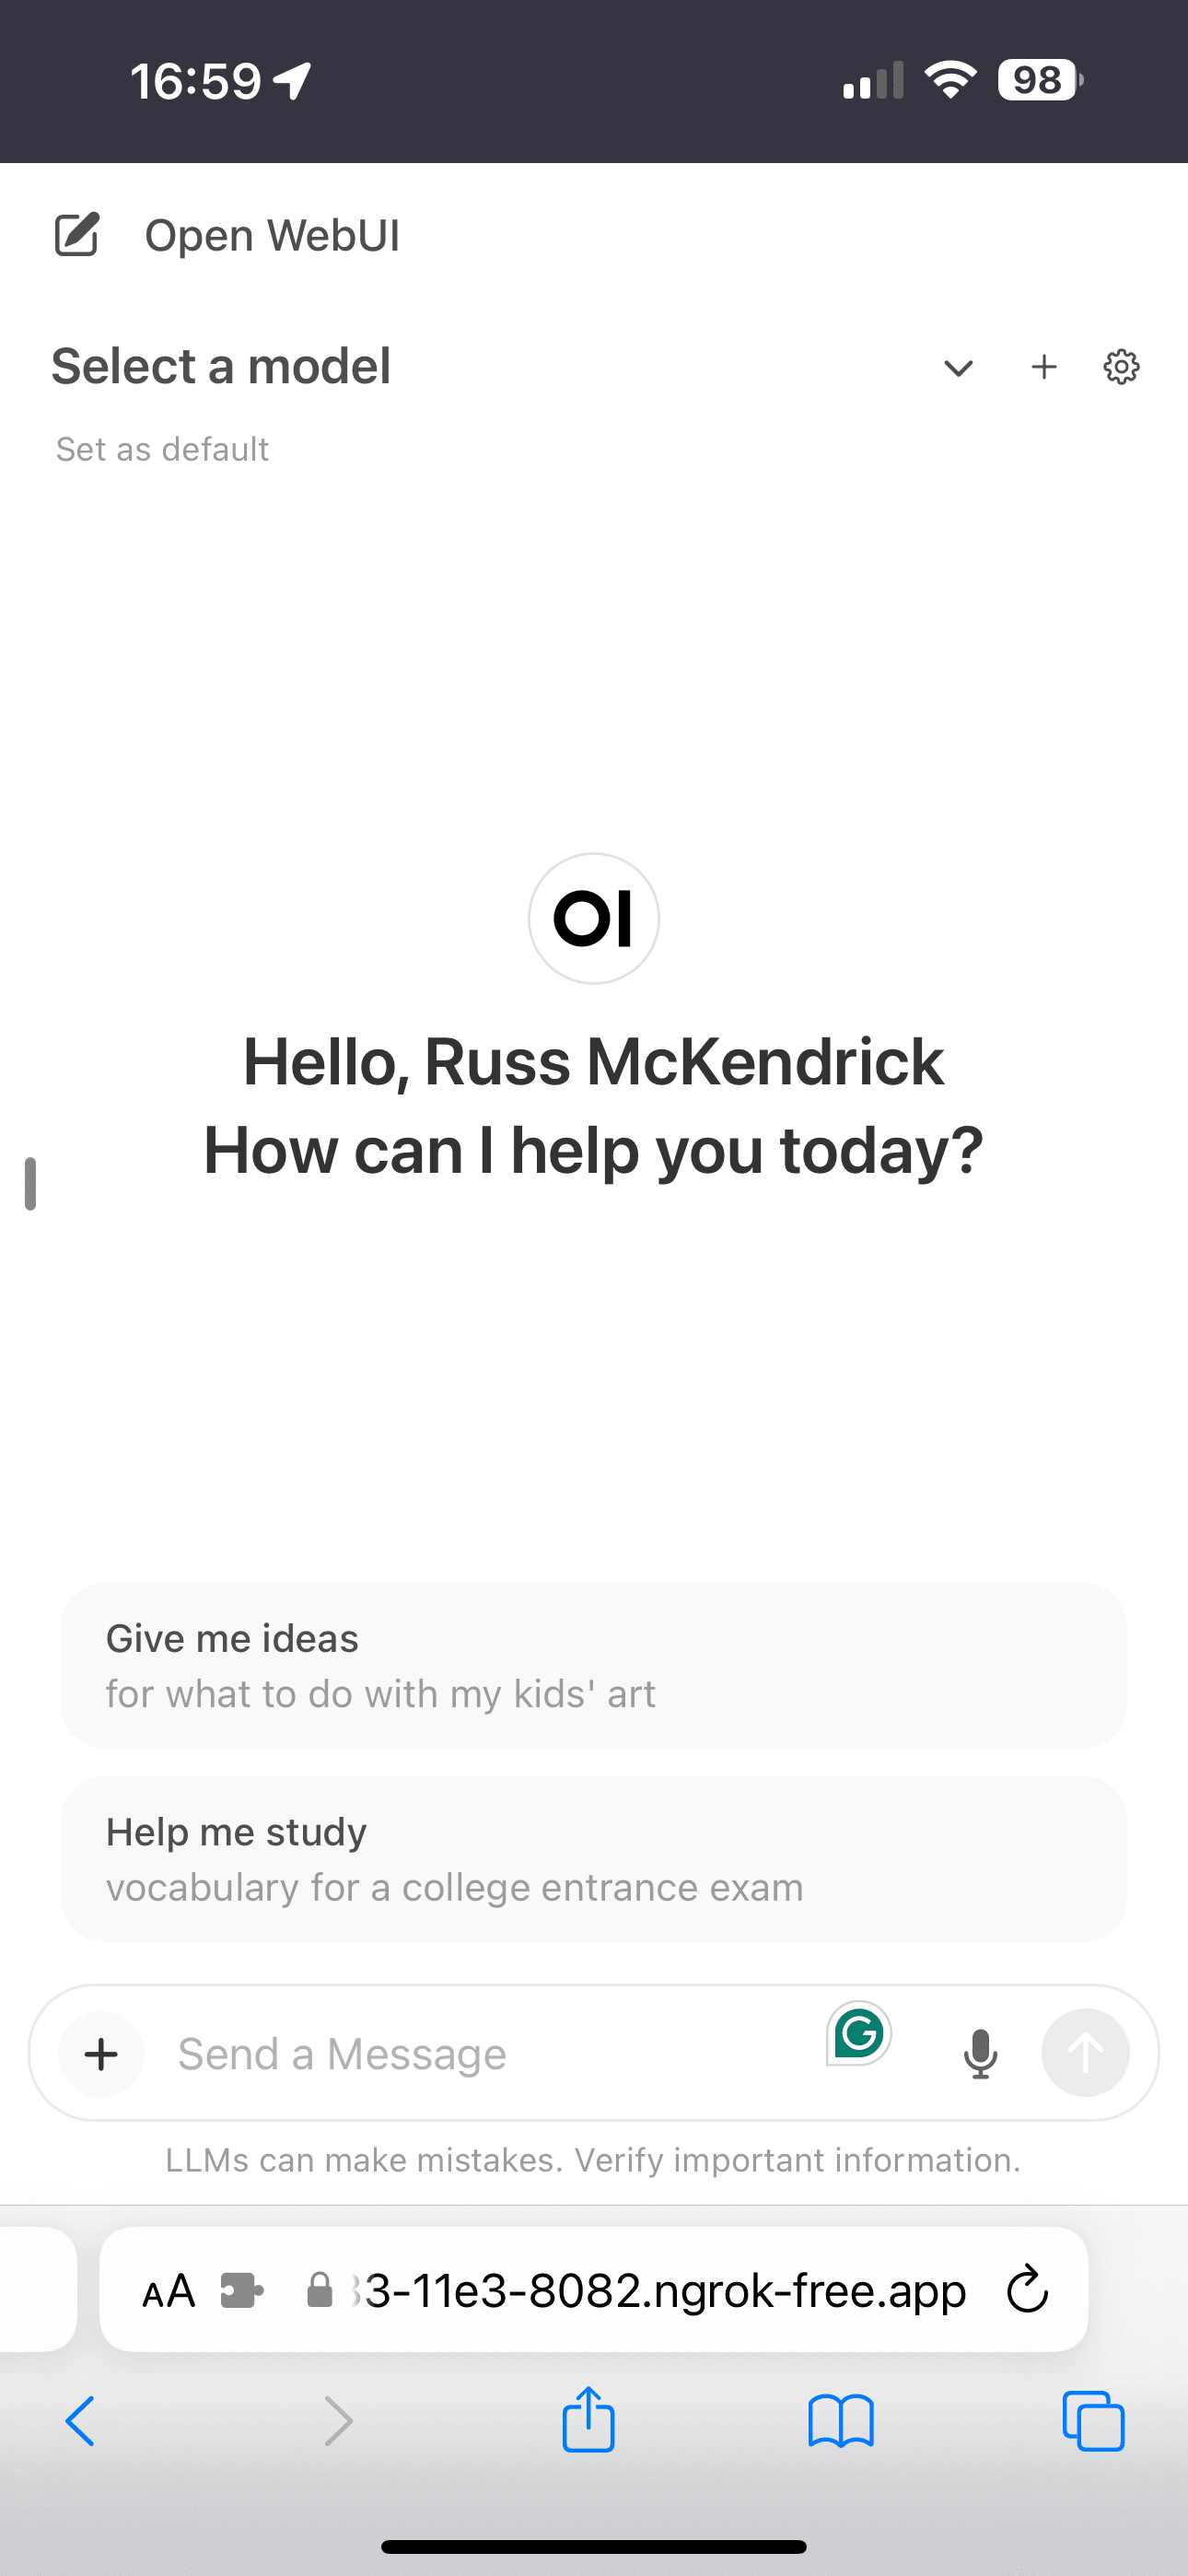
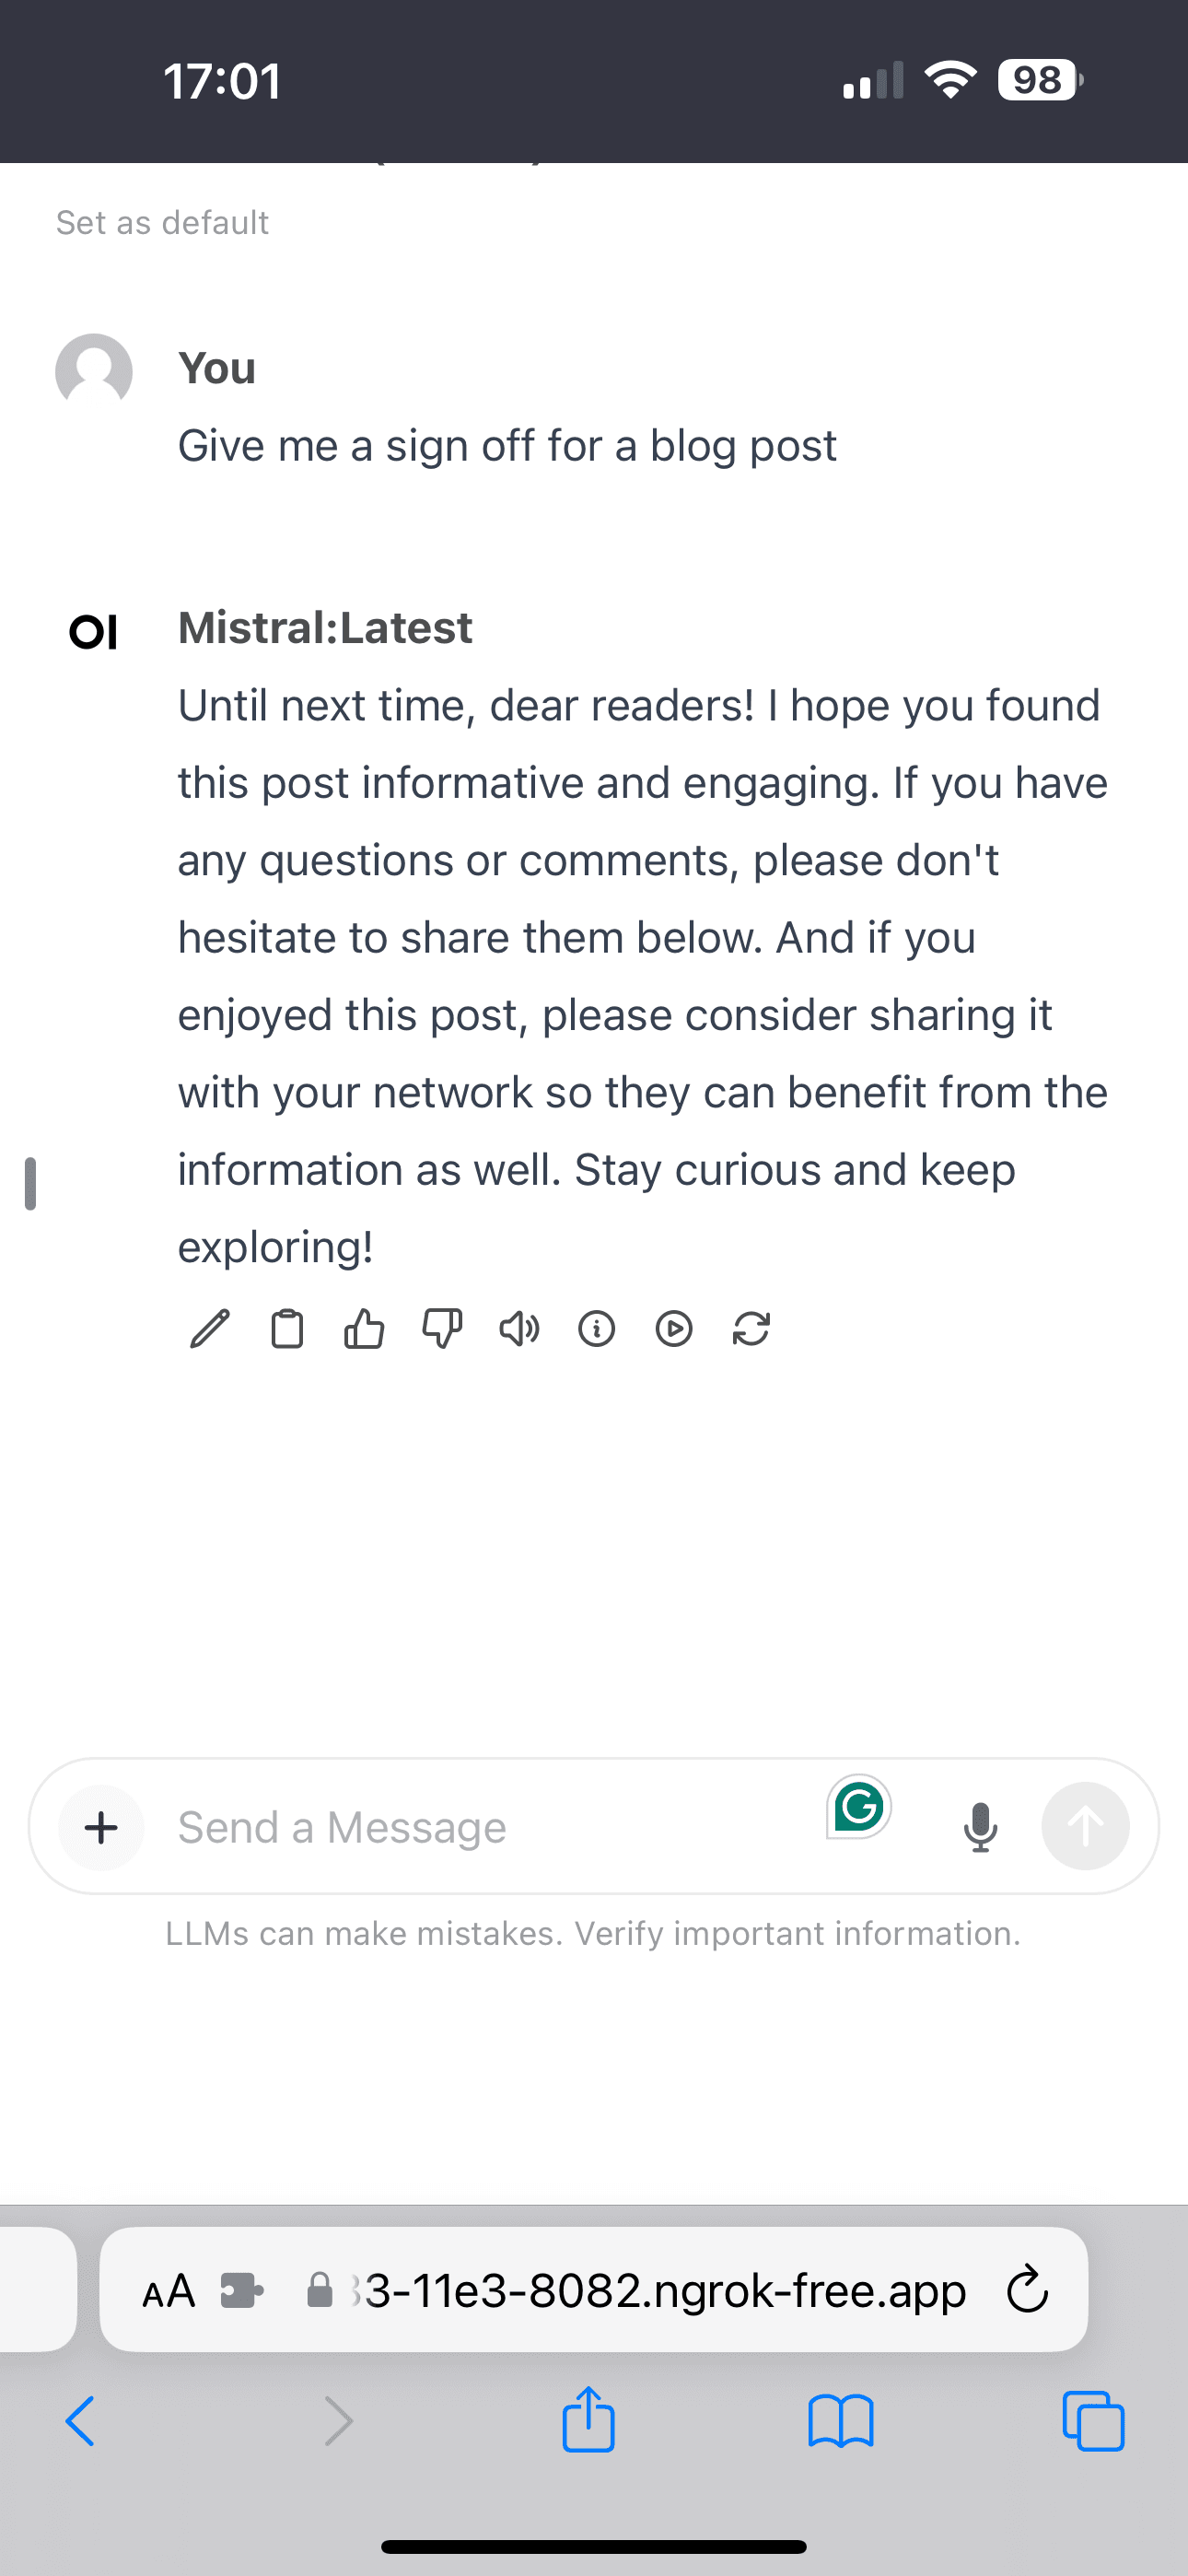
Once finished, press ctrl+c to close the tunnel and quit the ngrok session.
Cleaning up
There is just one thing to do: clean up the resources we have launched, starting with the containers:
docker container stop open-webuidocker container remove open-webuiDon’t worry again about the container being removed; the data and configuration are safe on the local machine, and to restore them, you need only run the docker container run command from earlier in the post.
The final thing you should do is quit the Ollama desktop application. This will shut down the API server and stop it from running in the background. Then, reopen the application to start everything back up again.
Conclusion
In this post, we explored how to run powerful large language models like llama2, Mistral, and codellama entirely locally on macOS using the Ollama tool. We saw how easy it is to pull models, interact with them via a chat interface and API, run a feature-rich web UI, and even access the models remotely using ngrok.
The fact that all of this cutting-edge AI capability can run offline on a laptop with a tool that’s simple to install is truly incredible. I encourage you to try out Ollama for yourself and experience the power of local LLMs. The possibilities are endless, from exploring and learning about these models to building your own applications on top of them.
I hope this post has been informative and inspirational. Feel free to reach out with any questions, and happy local LLM’ing!
Here are some links to the tools we have looked at in the post:
- https://ollama.com/
- https://github.com/ollama/ollama
- https://openwebui.com
- https://github.com/open-webui/open-webui
- https://llama.meta.com
- https://ai.meta.com/blog/code-llama-large-language-model-coding/
- https://docs.mistral.ai/models/
- https://mistral.ai/news/announcing-mistral-7b/
- https://ngrok.com/
Related Posts
codebase-memory-mcp: Giving Claude Code (and Codex) a Map
A short look at codebase-memory-mcp, an MCP server that indexes your codebase into a queryable knowledge graph so Claude Code or Codex can answer structural questions without grepping every file.

Counting the Cost of Vibe Coding
A local-first dashboard for tracking AI coding tool spend across Claude Code, Codex, Cursor, Copilot, and Gemini CLI - with a TUI, a desktop app, and zero API keys required.

Introducing AI Commit
A Rust CLI I built to stop writing terrible commit messages - aic generates AI-powered commit messages, PR drafts, diff reviews, and repo visualisations from your staged changes.

Comments