# Playing with Rancher 2.0
> Explore Rancher 2.0 with me. Test the preview version and discover its features & limitations.
- Canonical: https://www.russ.cloud/2018/01/28/playing-with-rancher-20/
- Published: 2018-01-28
- Author: Russ McKendrick
- Tags: Kubernetes, Cloud
---
As I had some free time this weekend so I thought it would be good to have a play with the recently released preview of Rancher 2.0.
**Please do not follow along with this post, you will see why towards the end !!!**
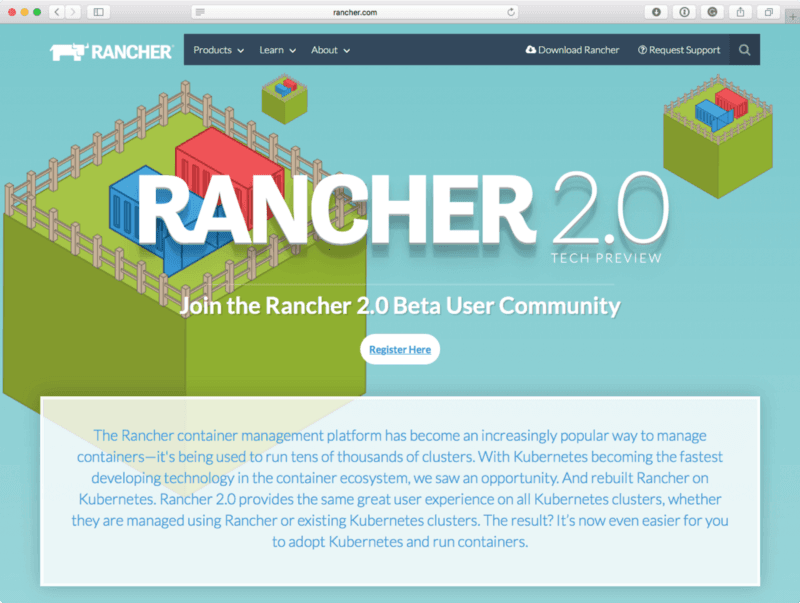 When I last wrote about [Rancher, is was back in June 2016](https://media-glass.es/launching-a-local-rancher-cluster-1422b89b0477), in that post I launched Rancher locally and used it target a few VirtualBox VMs. Rather than Virtual Box VMs I am going to use a cloud service, but I am going to be running it locally again, to do this launch the container I ran the following command;
```bash frame="terminal" title="Playing with Rancher 2.0 1/7"
$ docker container run -d \
--restart=unless-stopped \
-p 8080:80 \
-p 8443:443 \
rancher/server:preview
```
When I last wrote about [Rancher, is was back in June 2016](https://media-glass.es/launching-a-local-rancher-cluster-1422b89b0477), in that post I launched Rancher locally and used it target a few VirtualBox VMs. Rather than Virtual Box VMs I am going to use a cloud service, but I am going to be running it locally again, to do this launch the container I ran the following command;
```bash frame="terminal" title="Playing with Rancher 2.0 1/7"
$ docker container run -d \
--restart=unless-stopped \
-p 8080:80 \
-p 8443:443 \
rancher/server:preview
```
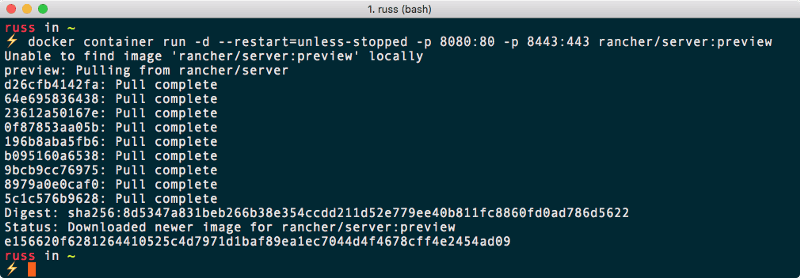 I checked that the container was up and running by running;
```bash frame="terminal" title="Playing with Rancher 2.0 2/7"
$ docker container ls
```
I checked that the container was up and running by running;
```bash frame="terminal" title="Playing with Rancher 2.0 2/7"
$ docker container ls
```
 Then entered opened my browswer and went to [https://localhost:8443/](https://localhost:8443/), after the usual certificate warnings I was greeted by a login screen;
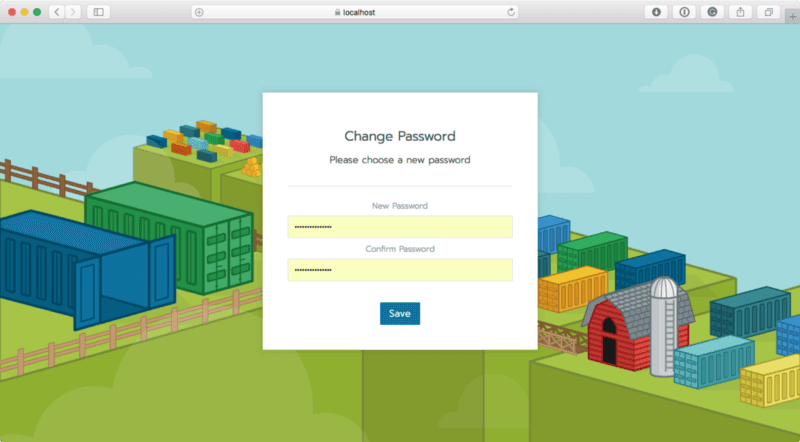
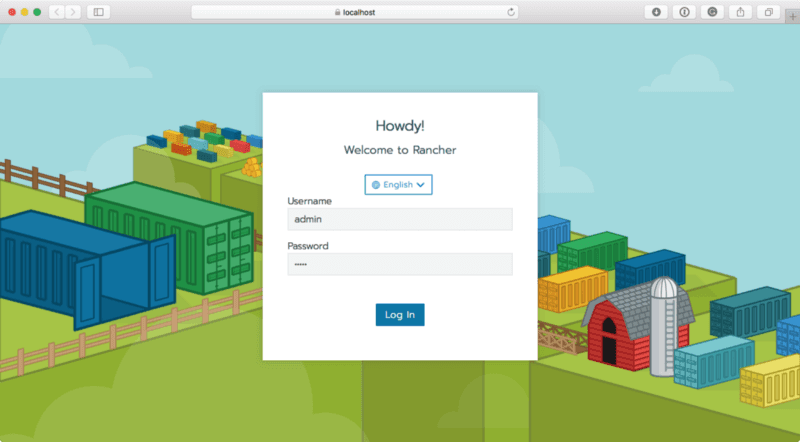 The default username and password for Rancher is simply **admin**, once you login you will be asked to change the password to something, hopefully, which is a lot more secure;
 Once logged in, you should be greeting by a page which looks like the one below, as you can see, we have nothing to show yet;
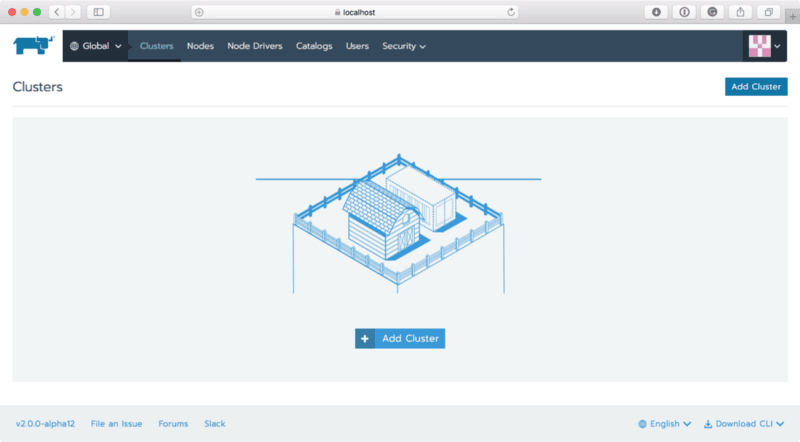 So now we need a cluster, clicking on **Add Cluster** will present three options.
- Create a Cloud Cluster
- Create a RKE Cluster
- Import an Existing Cluster
So now we need a cluster, clicking on **Add Cluster** will present three options.
- Create a Cloud Cluster
- Create a RKE Cluster
- Import an Existing Cluster
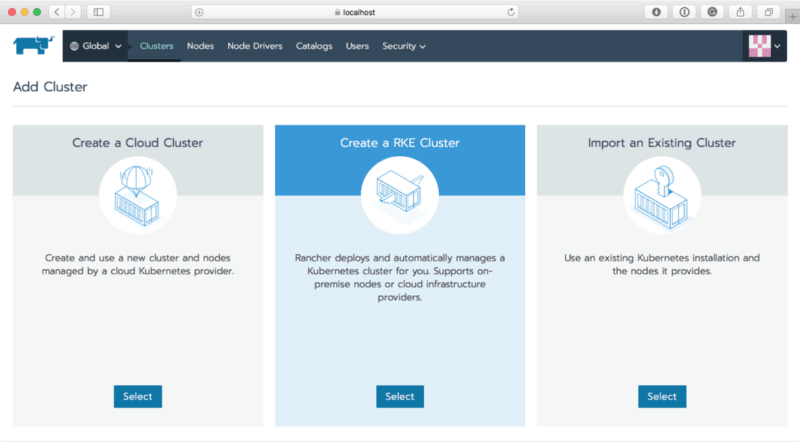 I am going to use the first of these options offers you an interface to launch a Kubernetes cluster by using the native Kubernetes tools in the big three public cloud providers. Well, sort of, at the time of writting only [Google Container Engine](https://cloud.google.com/kubernetes-engine/) is supported, suport for [Amazon EKS](https://aws.amazon.com/eks/) and [Azure Container Service](https://azure.microsoft.com/en-gb/services/container-service/) is “coming soon” and you are treated the following gif …
 So I guess that means I will launching my cluster using Google’s Container Engine. To do this I needed to create a service account by follwing the on-screen instructions;
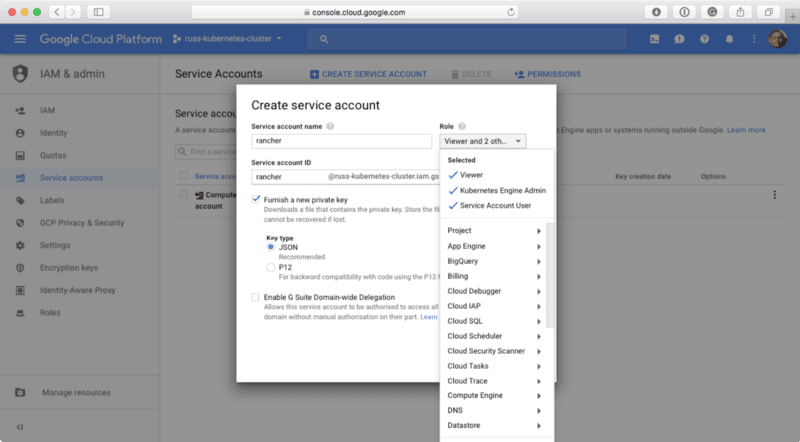 More information on createing a service account can be found in the [docs](https://cloud.google.com/compute/docs/access/create-enable-service-accounts-for-instances).
Once I had the service account JSON file I entered into the space provided and clicked on Next;
More information on createing a service account can be found in the [docs](https://cloud.google.com/compute/docs/access/create-enable-service-accounts-for-instances).
Once I had the service account JSON file I entered into the space provided and clicked on Next;
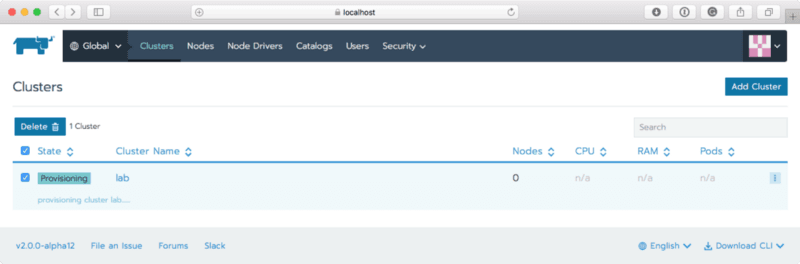
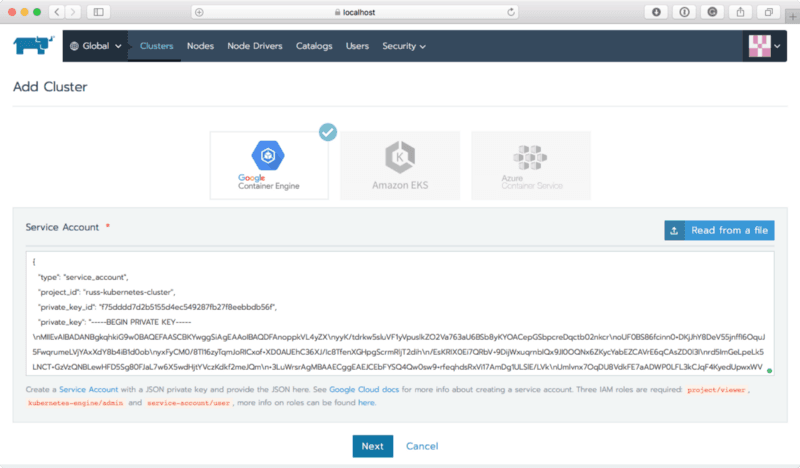 I enter the **Name** of my cluster as lab and kept the rest options at their defaults, meaning that Rancher would launch a three node n1-standard-1 (1 vCPU, 3.75GB RAM 100GB HDD) cluster in us-central1-f.
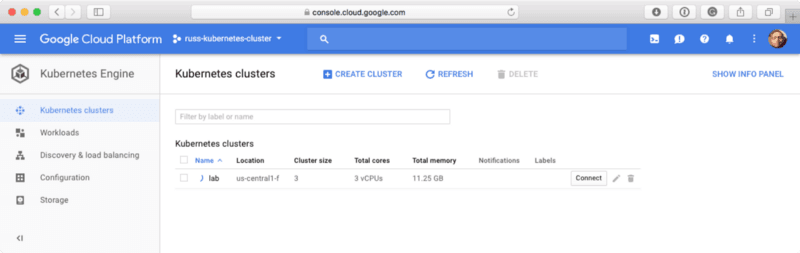
 You can double check the Google Clound Console to see the status of your cluster, as you can see from the screen below the lab was launching;
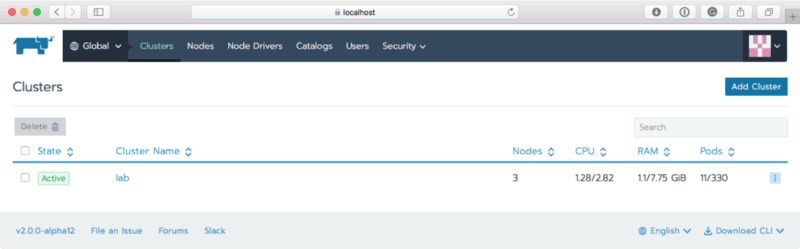
 After a few minutes the cluster showed as Active in Rancher;
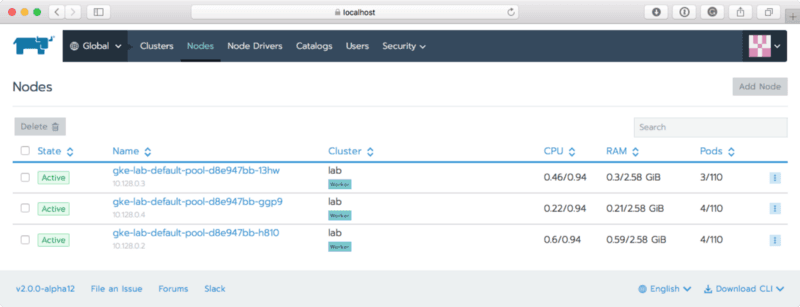
 Clicking on Nodes in the top menu showed me my three nodes;
 Now that I had my three node cluster regisgered with Rancher I could start to use it, to do this I Clicked on Global in the top right and selected the C**luster:lab**, this took me to the overview page;
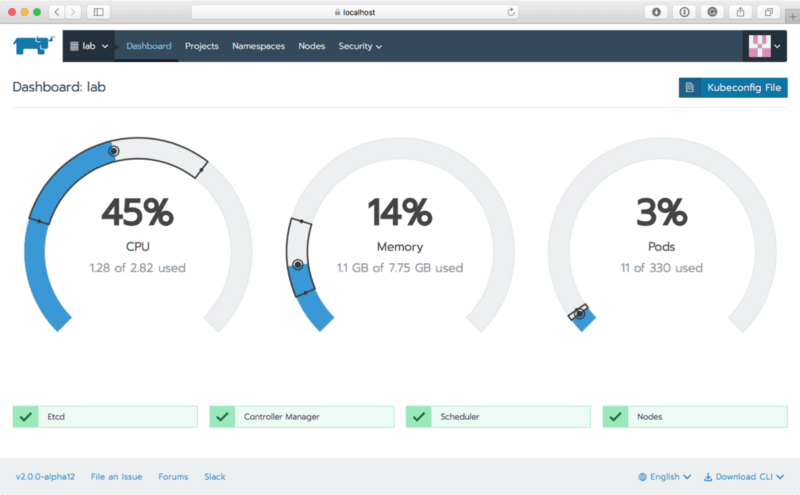 Clicking **Namespaces** showed me the namespaces I would expect to see in a newly launched Kubernetes cluster;
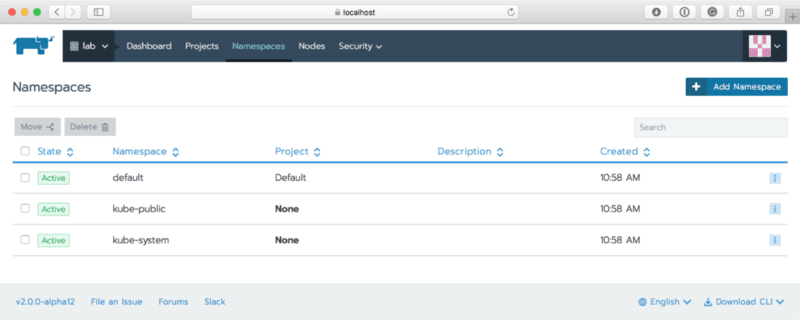 Clicking **Nodes**, and then on one of the three nodes gave quite a detailed overview of the selected node;
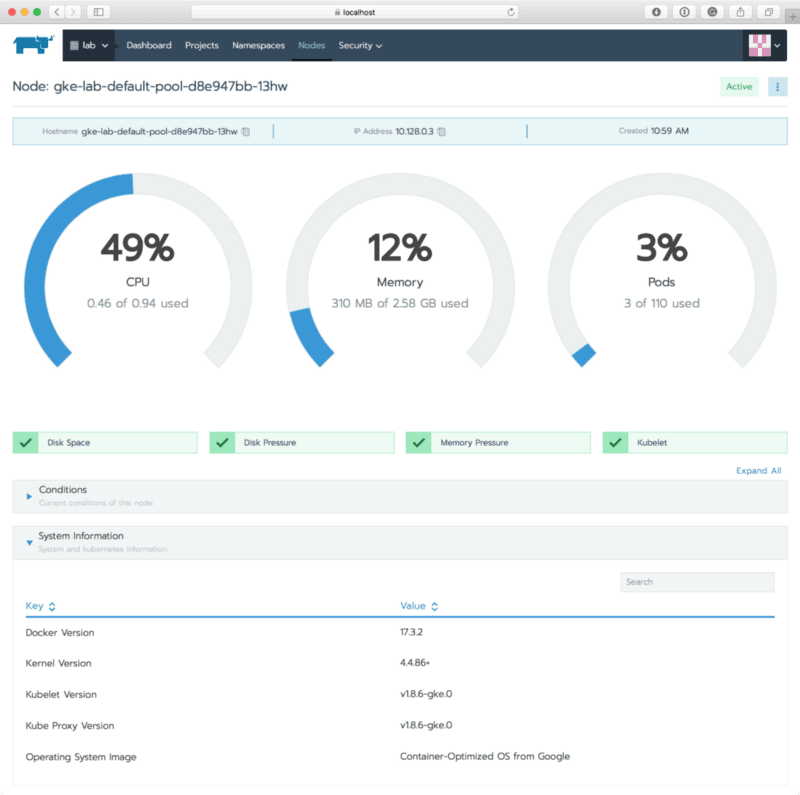 Now I had poked around the cluster, it was time to launch something, Rancher is known as having quite an extensive catalogue of applications, both Rancher approved and also comminutiy currated ones.
To launch an application I needed to select an application, as I was just messing about I decided to use the Default project which was created as part on the initial Rancher installation on the cluster;
Now I had poked around the cluster, it was time to launch something, Rancher is known as having quite an extensive catalogue of applications, both Rancher approved and also comminutiy currated ones.
To launch an application I needed to select an application, as I was just messing about I decided to use the Default project which was created as part on the initial Rancher installation on the cluster;
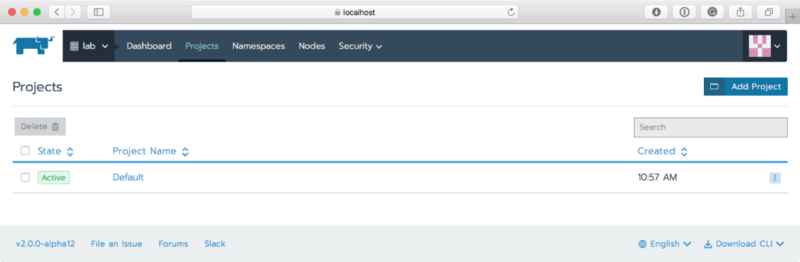 Clicked on **Default** took me to the projects dashboard, as you can see from the screen below, there was a warning that this area of the software was still being worked on;
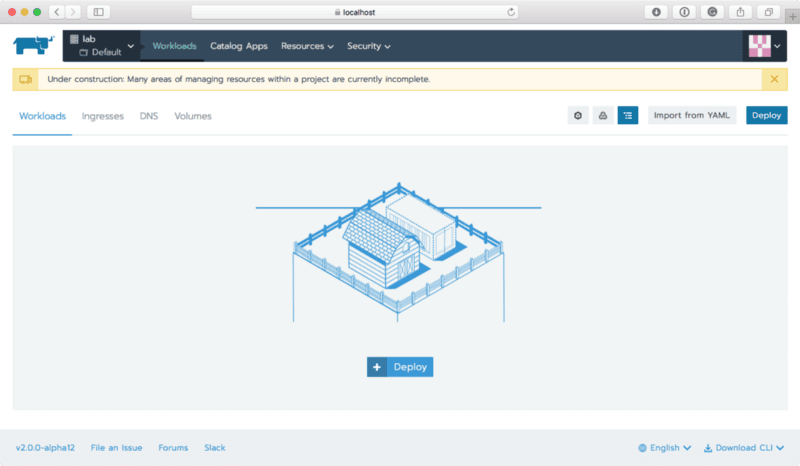 This is kind of where my journey with Rancher 2.0 fell apart, I wasn’t able to do much with it from here, now I am not certain if this was because I had launched my Rancher machine locally using Docker for Mac or if that was all, after all it is labelled as an Alpha version.
To test this, I launched a droplet in DigitalOcean using `doctl`;
```bash frame="terminal" title="Playing with Rancher 2.0 3/7"
$ doctl compute droplet create rancher \
--region lon1 \
--image ubuntu-17-10-x64 \
--size 1gb
```
Checked that the droplet had launched by running;
```bash frame="terminal" title="Playing with Rancher 2.0 4/7"
$ doctl compute droplet list
```
Then SSH’ed to the droplet by running;
```bash frame="terminal" title="Playing with Rancher 2.0 5/7"
$ doctl compute ssh rancher
```
Once I was on the droplet I installed Docker using the following commands;
```bash frame="terminal" title="Playing with Rancher 2.0 6/7"
$ curl -fsSL get.docker.com -o get-docker.sh
$ sh get-docker.sh
```
Then launched the Rancher 2.0 container by running;
```bash frame="terminal" title="Playing with Rancher 2.0 7/7"
$ docker container run -d \
--restart=unless-stopped \
-p 80:80 \
-p 443:443 \
rancher/server:preview
```
Note that this time I have used ports 80 and 443, putting the IP address of my droplet into my browser took me to the login page via the usual self-signed certificate warnings.
Once logged in I changed the password as prompted, launched a new cluster in using the same method as before. Once my cluster was up and running, I went to the default project and clicked on Catalog Apps, this time I was presented with a listed of a few of the default applications.
This is kind of where my journey with Rancher 2.0 fell apart, I wasn’t able to do much with it from here, now I am not certain if this was because I had launched my Rancher machine locally using Docker for Mac or if that was all, after all it is labelled as an Alpha version.
To test this, I launched a droplet in DigitalOcean using `doctl`;
```bash frame="terminal" title="Playing with Rancher 2.0 3/7"
$ doctl compute droplet create rancher \
--region lon1 \
--image ubuntu-17-10-x64 \
--size 1gb
```
Checked that the droplet had launched by running;
```bash frame="terminal" title="Playing with Rancher 2.0 4/7"
$ doctl compute droplet list
```
Then SSH’ed to the droplet by running;
```bash frame="terminal" title="Playing with Rancher 2.0 5/7"
$ doctl compute ssh rancher
```
Once I was on the droplet I installed Docker using the following commands;
```bash frame="terminal" title="Playing with Rancher 2.0 6/7"
$ curl -fsSL get.docker.com -o get-docker.sh
$ sh get-docker.sh
```
Then launched the Rancher 2.0 container by running;
```bash frame="terminal" title="Playing with Rancher 2.0 7/7"
$ docker container run -d \
--restart=unless-stopped \
-p 80:80 \
-p 443:443 \
rancher/server:preview
```
Note that this time I have used ports 80 and 443, putting the IP address of my droplet into my browser took me to the login page via the usual self-signed certificate warnings.
Once logged in I changed the password as prompted, launched a new cluster in using the same method as before. Once my cluster was up and running, I went to the default project and clicked on Catalog Apps, this time I was presented with a listed of a few of the default applications.
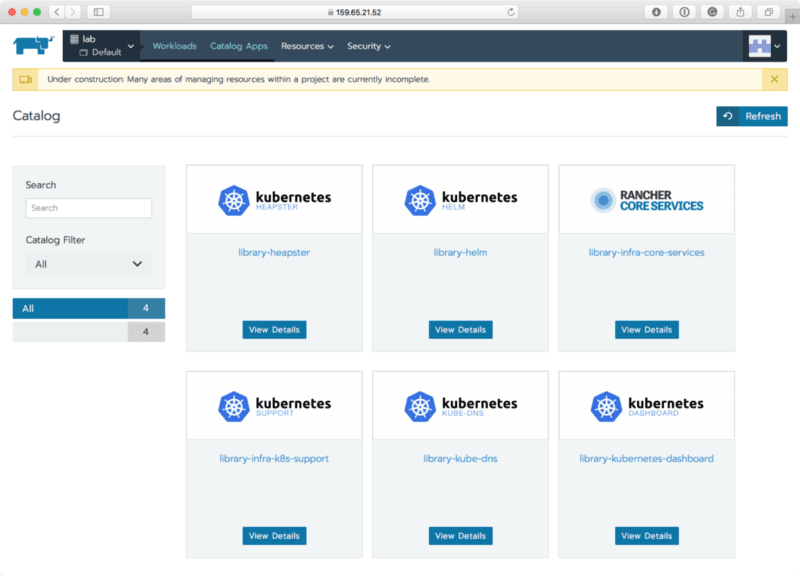 I decided to install Heapster as it was first, clicking View Details and then working through the on-screen prompts but still nothing seemed to work.
It was at this point I gave up, and decided that I would probably wait a month or two to have another look. All of the getting everything ready appears to be there at the moment, but the doing anything through Rancher is lacking at the moment.
Expect a follow up post in the next month or two.
I decided to install Heapster as it was first, clicking View Details and then working through the on-screen prompts but still nothing seemed to work.
It was at this point I gave up, and decided that I would probably wait a month or two to have another look. All of the getting everything ready appears to be there at the moment, but the doing anything through Rancher is lacking at the moment.
Expect a follow up post in the next month or two.