I had some time today, so I thought I would combine two posts I have been planning on writing for a week or two, looking at Docker 1.13 and also Minio.
It is important to note before you read further that this post does not cover using Mino as a storage backend for containers. It is about launching a distributed Minio installation in a Docker Swarm cluster and consuming the storage using the Minio command line client and web interface.
Docker 1.13
Docker 1.13 was released on Wednesday; you can get an overview of the features added below;
The headline feature for me was that you are now able to launch a stack using a Docker Compose file. I last looked at doing this using Distributed Application Bundles back in June last year;
Docker Load Balancing & Application Bundles
It was an interesting idea but felt a little clunky, likewise, launching individual Services manually seemed a like a retrograde step.
Launching a Docker Swarm Cluster
Before creating the cluster I needed to start some Docker hosts, I decided to launch three of them in DigitalOcean using the following commands;
Once I had my three hosts up and running I ran the following commands to create the Swarm;
Then the following to check that I have the three hosts in the cluster;

Planning the Minio deployment
Before I go into any detail about launching the stack, I should talk a little about the software I will be launching. Minio describes itself as;
A distributed object storage server built for cloud applications and devops.
There are a few buzz words in that simple description, so let’s break it down a little further. Minio provides object storage as both a distributed and standalone service. It provides a compatibility layer with the Amazon S3 v4 API meaning that any applications which have been written to take advantage of Amazon S3 should work with minimal changes, such as the endpoint to the application is connecting, to the code.
Minio also has support for Erasure Code & Bitrot Protection built in meaning your data possesses a good level of protection when you distribute it over several drives.
For my deployment, I am going to launch six Minio containers across my three Docker hosts. As I will be attaching a local volume to each container, I will be binding them to a single host within the cluster.
While this deploy will give me distributed storage, I will only be able to lose a single container — but this is in no way production ready, so I am not too bothered about that for this post.
For more information on the Minio server compoent I will be launching see the following video;
Or go to the Minio website;
Creating the Stack
Now I had my Docker Swarm cluster and an idea of how I wanted my application deployment to look it was time to launch a stack.
To do this, I created a Docker Compose V3 file which I based on the Minio example Docker Compose file. The compose file below is what I ended up with;
On the face of it, the Docker Compose file seems to be very similar to a v2 file. However you may notice that there is an additional section for each of the Minio containers, everything which comes below deploy is new to the v3 Docker Compose format.
As you can see, I was able to add a restart policy and also a constraint to the file, before these options were only available if you were manually launching the service using the docker service createcommand.
If you don’t feel like using the MINIO_ACCESS_KEY and MINIO_SECRET_KEY in the Docker Compose then you can generate your own by running the following two commands which will randomly create two new keys for you;
To launch the stack using this Docker Compose file, all I needed to do was the run the following command;

As you can see from the terminal output above, six services and a network were created, as well as volumes which were created using the default volume driver.
To check that the stack was there, I ran the following;
Which gave me the output below;

Now that I knew that my Stack had successfully created and that the expected six services were attached to it, I then wanted to check that the actual services were running.
To do this, I used the following command which shows a list of all of the services attached to the specified Stack;
As you can see from the terminal output below, I had the six services with each service having one of one containers running;

It was now time to open Minio in my browser, to do this I used the following command;
Using Minio
Once my browser opened I was greeted with a login page;
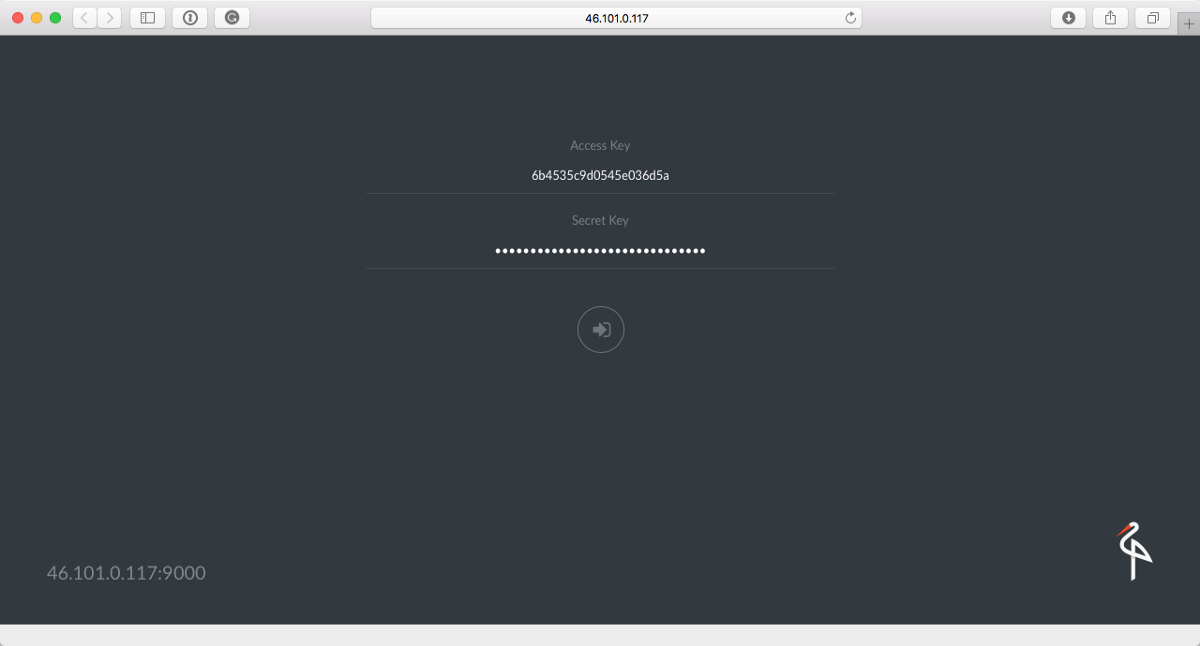
Once logged in using the credentials I defined when launching the services, I was presented with a clean installation;
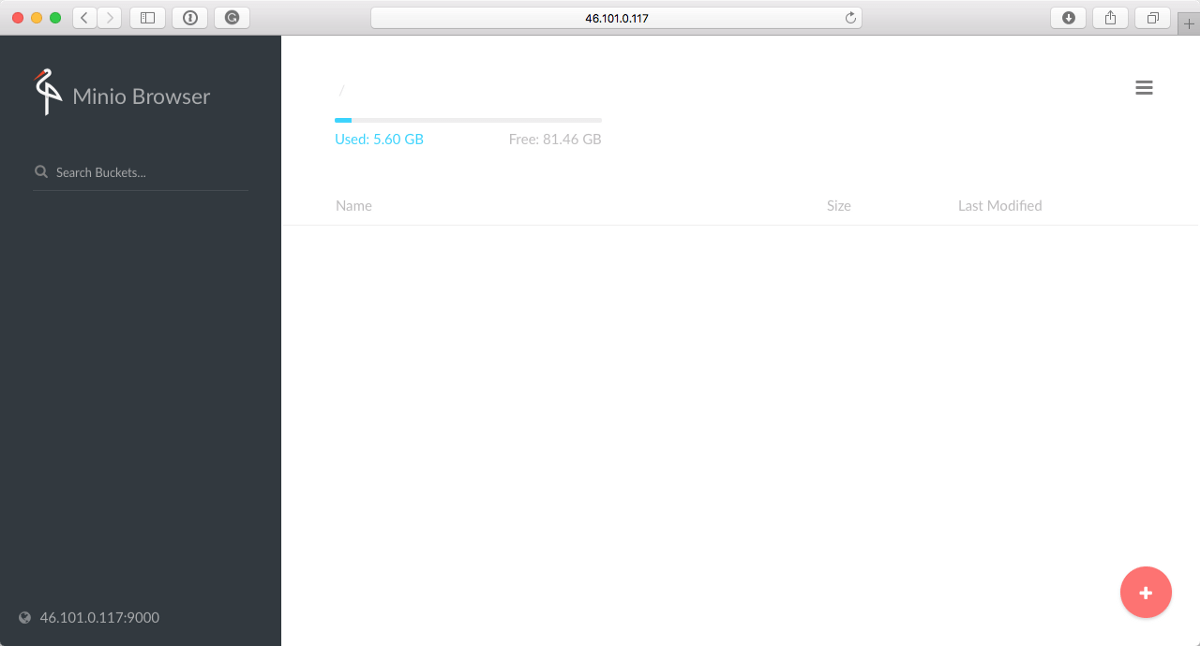
Rather than start using the web gui straight away I decided to install the command line client, I used Homebrew to do this;
Configuration of the client was simple, all I needed to do was to run the following command;
It added a host called swarm which can be contacted at any of the public IP addresses of my Swarm cluster (I used swarm01), accessed with the access & secret key and finally the host I am connecting to is running the S3v4 API.
As you can see from the terminal output below you get an overview of the which were updated or added;

Now that the client is configured I can create a Bucket and upload a file by running;
I creatively called the bucket “testing”, and the file was the header graphic for this post.

Now that I had some content I can get a bucket and file listing by running;
Which returned the results I expected;

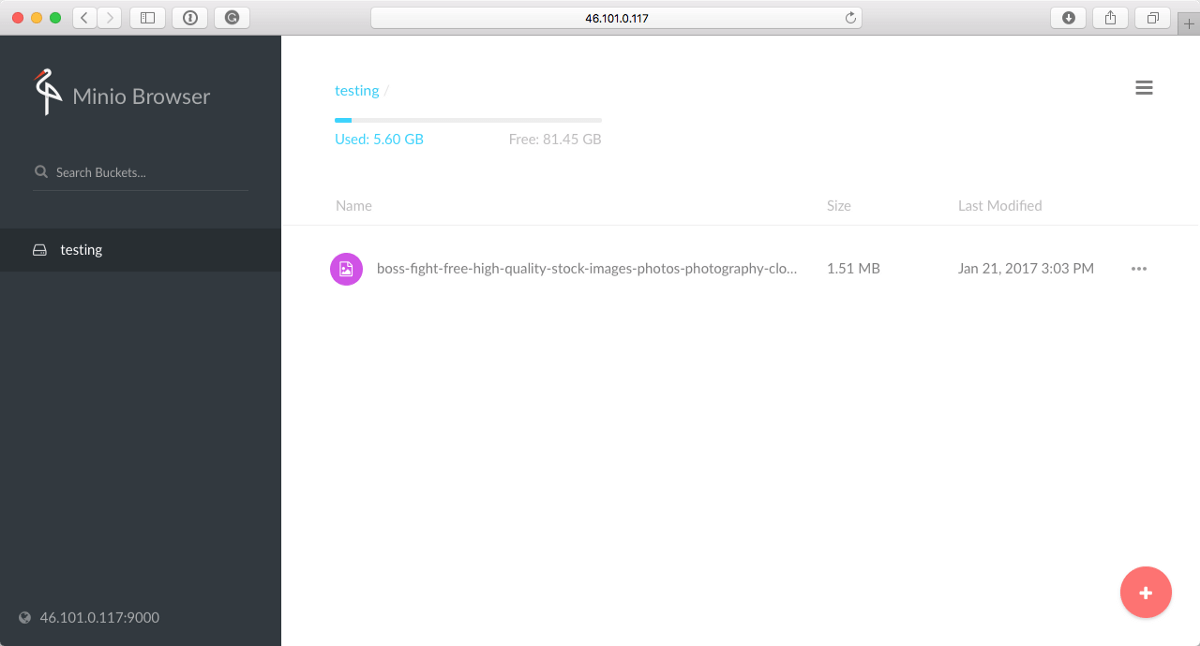
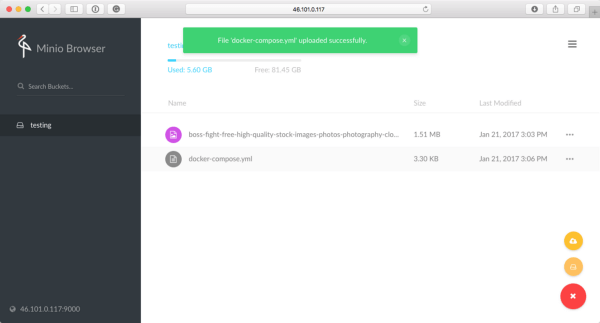
Going back to the web gui I can see that the bucket and file are listed there as well;
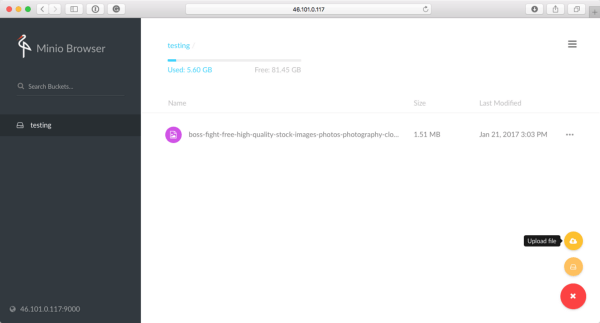
Staying in the browser and “testing” bucket I decided to upload the Docker Compose file, to this I clicked on the **+**icon in the bottom left and then click on Upload file;
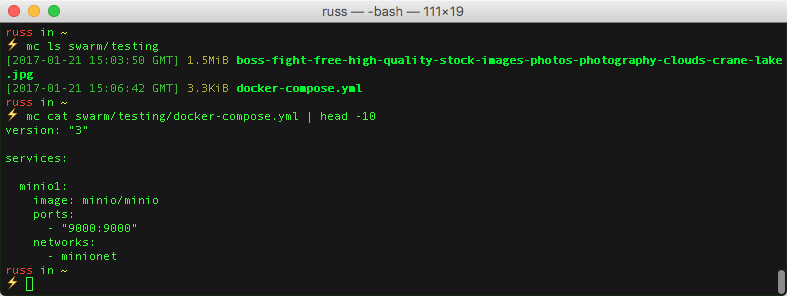
Back on the command line check I could see the file and then used the built in catcommand to view the contents of file;
Killing a Container
If one of the services should stop responding, I know it will get replaced as I configured each of the services with a restart condition.
To force the condition to kick in I killed one of the two containers on swarm02. First of all, I got a listing of all of the containers running on the host, and then forcibly removed it by running;
I checked the status of the services, and after a second or two, the replacement container had launched.
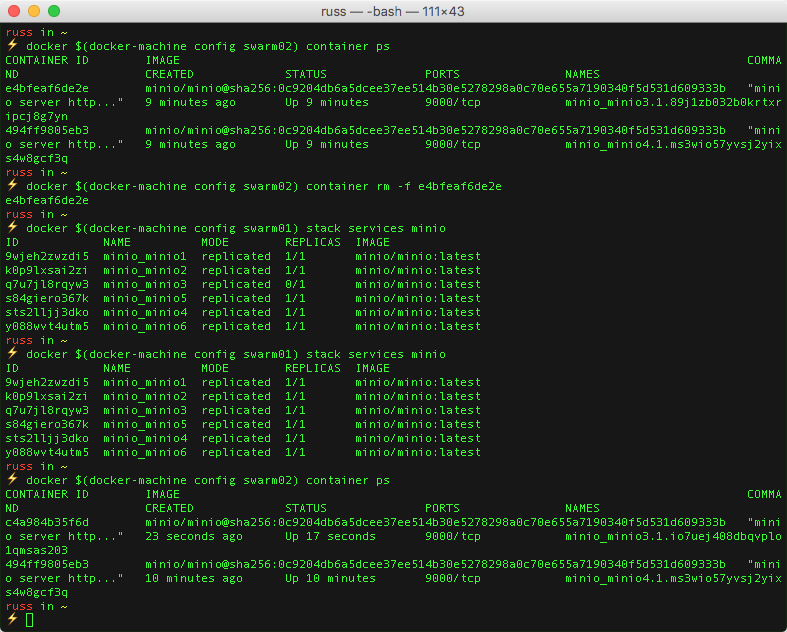
As you can see from the commands, Docker 1.13 is introducing a slightly different way to run commands which effect change to your containers rather than running docker psyou now run docker container ps.
The Docker command line client has grown quite a bit since it first launched, moving the base commands which are used to launch and interact containers underneath the container child command makes a lot of sense moving forward as it clearly identifies the part of Docker which you are controlling.
You can find a full list of the child commands at for docker container below;
I would recommend that you start to use them as soon as possible as eventually the base commands originally used to control containers will be retired (probably not for quite a while, but we all have a lot of muscle memory to relearn).
Summing up Docker 1.13
I have been waiting for the 1.13 release for a while as it is going to make working with Swarm clusters a lot more straight forward.
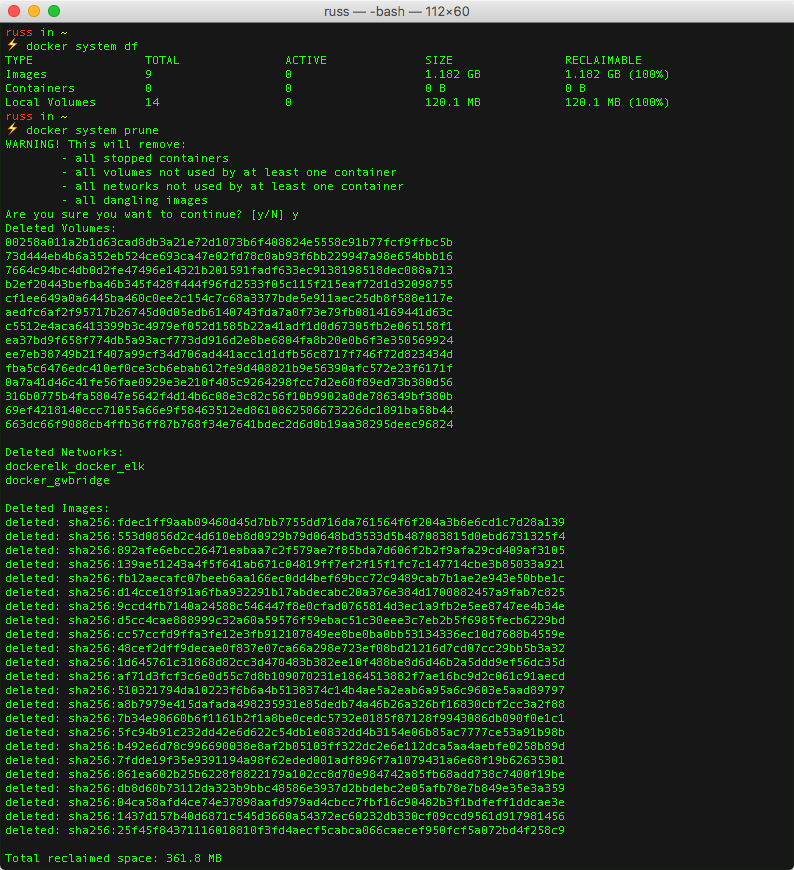
The introduction of clean-up commands is a godsend for managing unused volumes, networks and dangling images;
Docker 1.13 also introduces a few new experimental features such as an endpoint for Prometheus-style metrics meaning that you should no longer have to use cadivisor as a middle-man, there are also options for squashing images once they are built and using compression when passing assists during a build.
I may do a follow-up post on some of these experimental features at some point soon.
Summing up Minio
Under the hood what Minio does is quite complicated. The sign of any good software is making you forget the underlying complexities but not in a way where you can make mistakes which result in loss of service or even worse data.
Having spent hours cursing at Ceph and Swift installations, I would recommend looking at Minio if you are after an object store which supports erasure coding out of the box.
While the example in this post is not really production ready, it isn’t too far off. I would have launched a production in an environment where I can attach external block storage directly to my containers using a volume plugin.
For example, launching a Swarm cluster in Amazon Web Services means I would be able to use Elastic Block Storage (EBS). Volumes could move alongside containers which would mean that I didn’t need to pin containers to hosts — coupled with restart conditions and more hosts I could quite quickly have fully redundant object store up and running.
Add it to your list of things to check out :)
I thought I would post a quick follow up, as always submit links to Hacker News and there was an interesting conversation in the comments. It’s well worth reading as it not only discusses the size limitation of Minio but also some of the design decisions;
Does anyone have large (PB-scale) deployments of Minio on premises? We have a ne… | Hacker News
